Build GitHub Pages locally with Jekyll on WSL
When you are working with Github Pages, it is such a pain to test it, especially if you are working on something like this Jekyll-based site. Without setting up a local environment, to view any change, you have to git commit and push, then wait until GitHub to have your site updated. I decided to follow the official tutorial to do it myself.
Set up the environment
Although GitHub docs is already very good, I found I faced a couple small issues when doing this, so I would like to have them documented to make the setup easier for me (and maybe other people).
I have tested this approach both on an Alpine LXC container and my WSL Ubuntu, both work perfectly fine. Here I will cover the WSL part.
Install packages
sudo apt update
sudo apt install ruby ruby-dev
Yes, you need not only Ruby, but also ruby-dev which contains some essential
components (like the header files) to build Ruby packages.
Then we need install bundler
gem install bundler -v 2.1.2 --user-install
-v is used to force installing version 2.1.2. This is mainly because the
current Gemfile.lock was build with bundler 2.1.2. If another version is
installed, bundler will first upgrade/downgrade itself anyway. --user-install
is used because I do not want to sudo every time to install a Ruby package.
With this option, the packages will be installed to ${HOME}/.local/share/gem/,
and the binaries, like bundle, will be installed to
${HOME}/.local/share/gem/ruby/3.1.0/bin. You need add this directory to your
PATH to use the executables.
The next step, bundle will by default try to install packages to directories
like /usr/local/bin and /var/lib/gems/3.1.0, so sudo is obviously needed
as well. As a result, let us change this behavior as well
bundle config set --local path ${HOME}/.local/share/gem
Here, with this option, bundle and gem will both install the packages to the
same directory.
Next, install necessaries package defined in Gemfile.lock
bundle install
To serve the website with jekyll, it is necessary to install the webrick
package. You can do
bundle add webrick
which will add webrick to Gemfile.lock. Till now, we are all set! We can now
serve the website
bundle exec jekyll serve --incremental --livereload
Notice the options. --incremental will build the site whenever a file is
changed, and --livereload will automatically refresh your browser window to
save you some hassle.
Now you should be able to see your page in the browser!
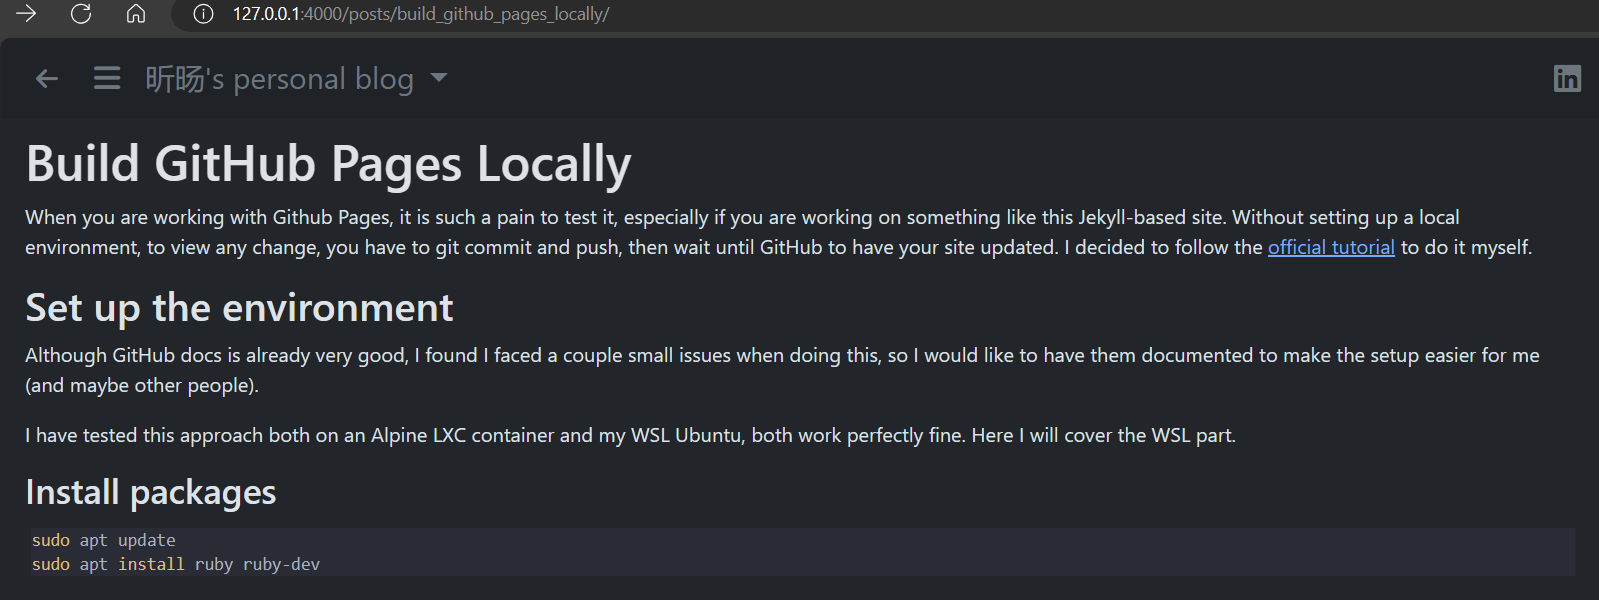
Here is the live view when I was working on this very post.
Some tips
Here are some other issues I encountered.
-
A site built by Jekyll utilize some pre-processors, for example, in
posts_chrono.html<h1><span class="fas fa-clock-rotate-left"></span> Posts</h1> <ul> {{% for post in site.posts %\}} {% if post.redirect_to %} {% else %} {% assign currentdate = post.date | date: "%Y" %} {% if currentdate != date %} {% unless forloop.first %}</ul>{% endunless %} <h2 id="y{{post.date | date: '%Y'}}">{{ currentdate }}</h2> <ul> {% assign date = currentdate %} {% endif %} <li> <a href="{{ post.url }}">{{ post.title }}</a> (<i>{{ post.date | date_to_string }}</i>)</br> {{ post.description }} </li> {% if forloop.last %}</ul>{% endif %} {% endif %} {% endfor %} </ul>These are called
liquid syntaxwhich will be parsed byJekyllto build the page. Here this page basically finds all the post and create this posts_chrono page.Here comes the problem. I started serving the site and then created this post, so is did not exist in the link above so that I could not access this page without typing the URL manually.
To deal with it, I just randomly change
posts_chrono.htmla little bit (like add a new line) and save it. The change in the page will triggerJekyllto rebuild the page. -
When you run the command with the
--livereloadoption, it will tell youAuto-regeneration: enabled for '.' LiveReload address: http://127.0.0.1:35729 Server address: http://127.0.0.1:4000/It seems you should connect to the one with port number 35729, but in fact, if you do it, you will see an error prompt saying
This port only serves livereload.js over HTTP.It seems the browser force a HTTPS link, while the script only works for HTTP. Actually, you just have to connect to the one at port 4000, and it works just fine. I am not sure what is happening here.
-
By default,
jekyllonly serves toLOCALHOST. If you want to view the site on other device, add CLI option--host==0.0.0.0so thatjekyllwill listen to all LAN IPv4 addresses. Note that, if you serve the site within WSL, other devices cannot access the site. This is because of this issue, and the solution is provided in this comment. I had to run this script to ssh into my WSL before I started doing self-hosting.You can add the default port 4000 used by
jekyll serveor whatever you want to line 29 of the script#[Ports] #All the ports you want to forward separated by coma $ports=@(80,443,10000,2222,3000,4000,5000);Then run this script as admin on Windows to add a Windows firewall rule, or you can create the rule with the default script and add the port to this rule later.
If you want to use
--livereload, the port35729needs to be added to the firewall rule as well. -
Jekyll does not watch changes made to
_config.yml. It seems even restarting the server might not work. You have to runbundle exec jekyll buildorjekyll buildsuch that these changes will take effects. In fact, if you run the build command from another terminal, there is no need to terminate and restart the server. Simply, the issue mentioned at the beginning of the list can be solved in the same fashion. Just remember to manually refresh the page.
Home Lab Self-hosted Coding OS DIY This Blog