(Physically) install my OctoPrint server
At the time when I got my Voxelab Aquila X2 printer, I kept it in the corner of a desk against the walls. After using the printer for a few month, I feel it it necessary to hook it up with an OctoPrint server for easier and more advanced controls. I happen to have a spare ASRock N3050M Motherboard featuring an Intel Celeron N3050 CPU, which is perfect for this use case (low power and relatively low demanding). Even better the desk where my printer is sitting, has a bar underneath the surface, providing an excellent location to mount the motherboard.
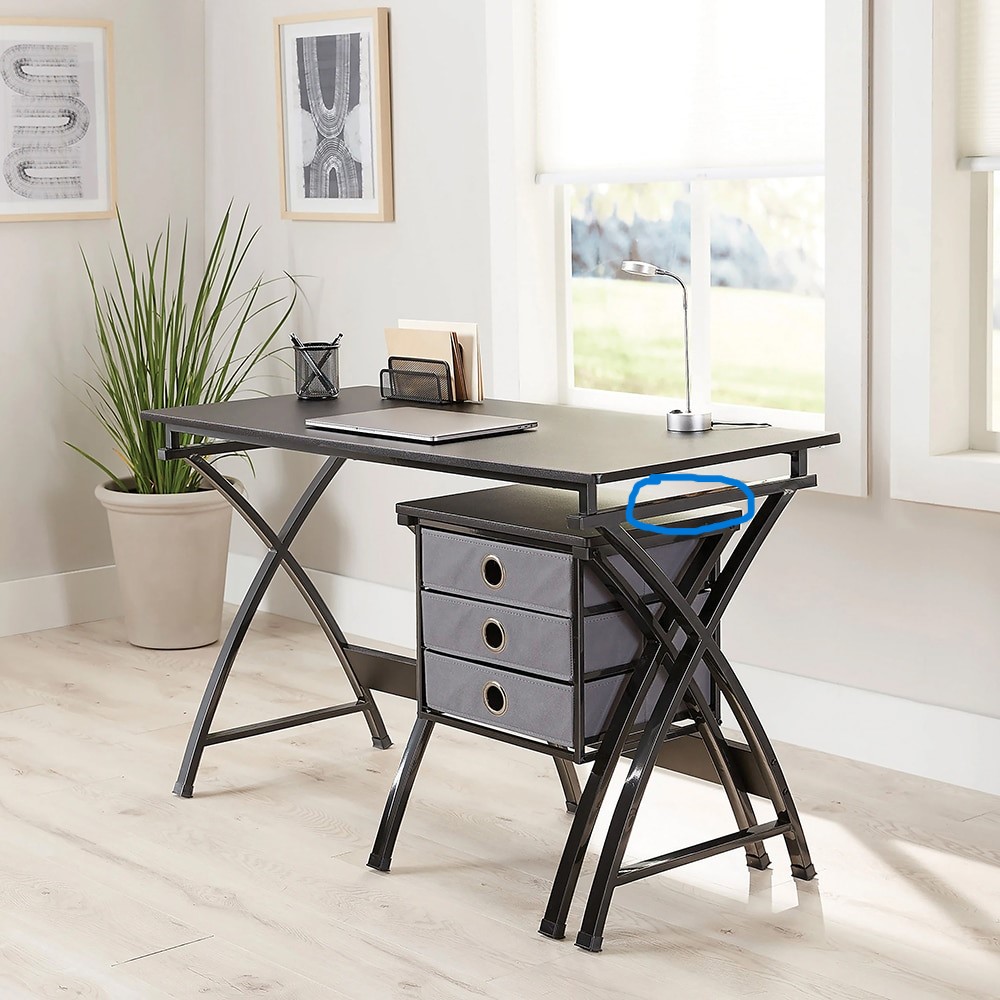
I did not take enough pictures when doing this project, so you can probably tell the writing is a little bit messy (not in chronological order). Please bear with me.
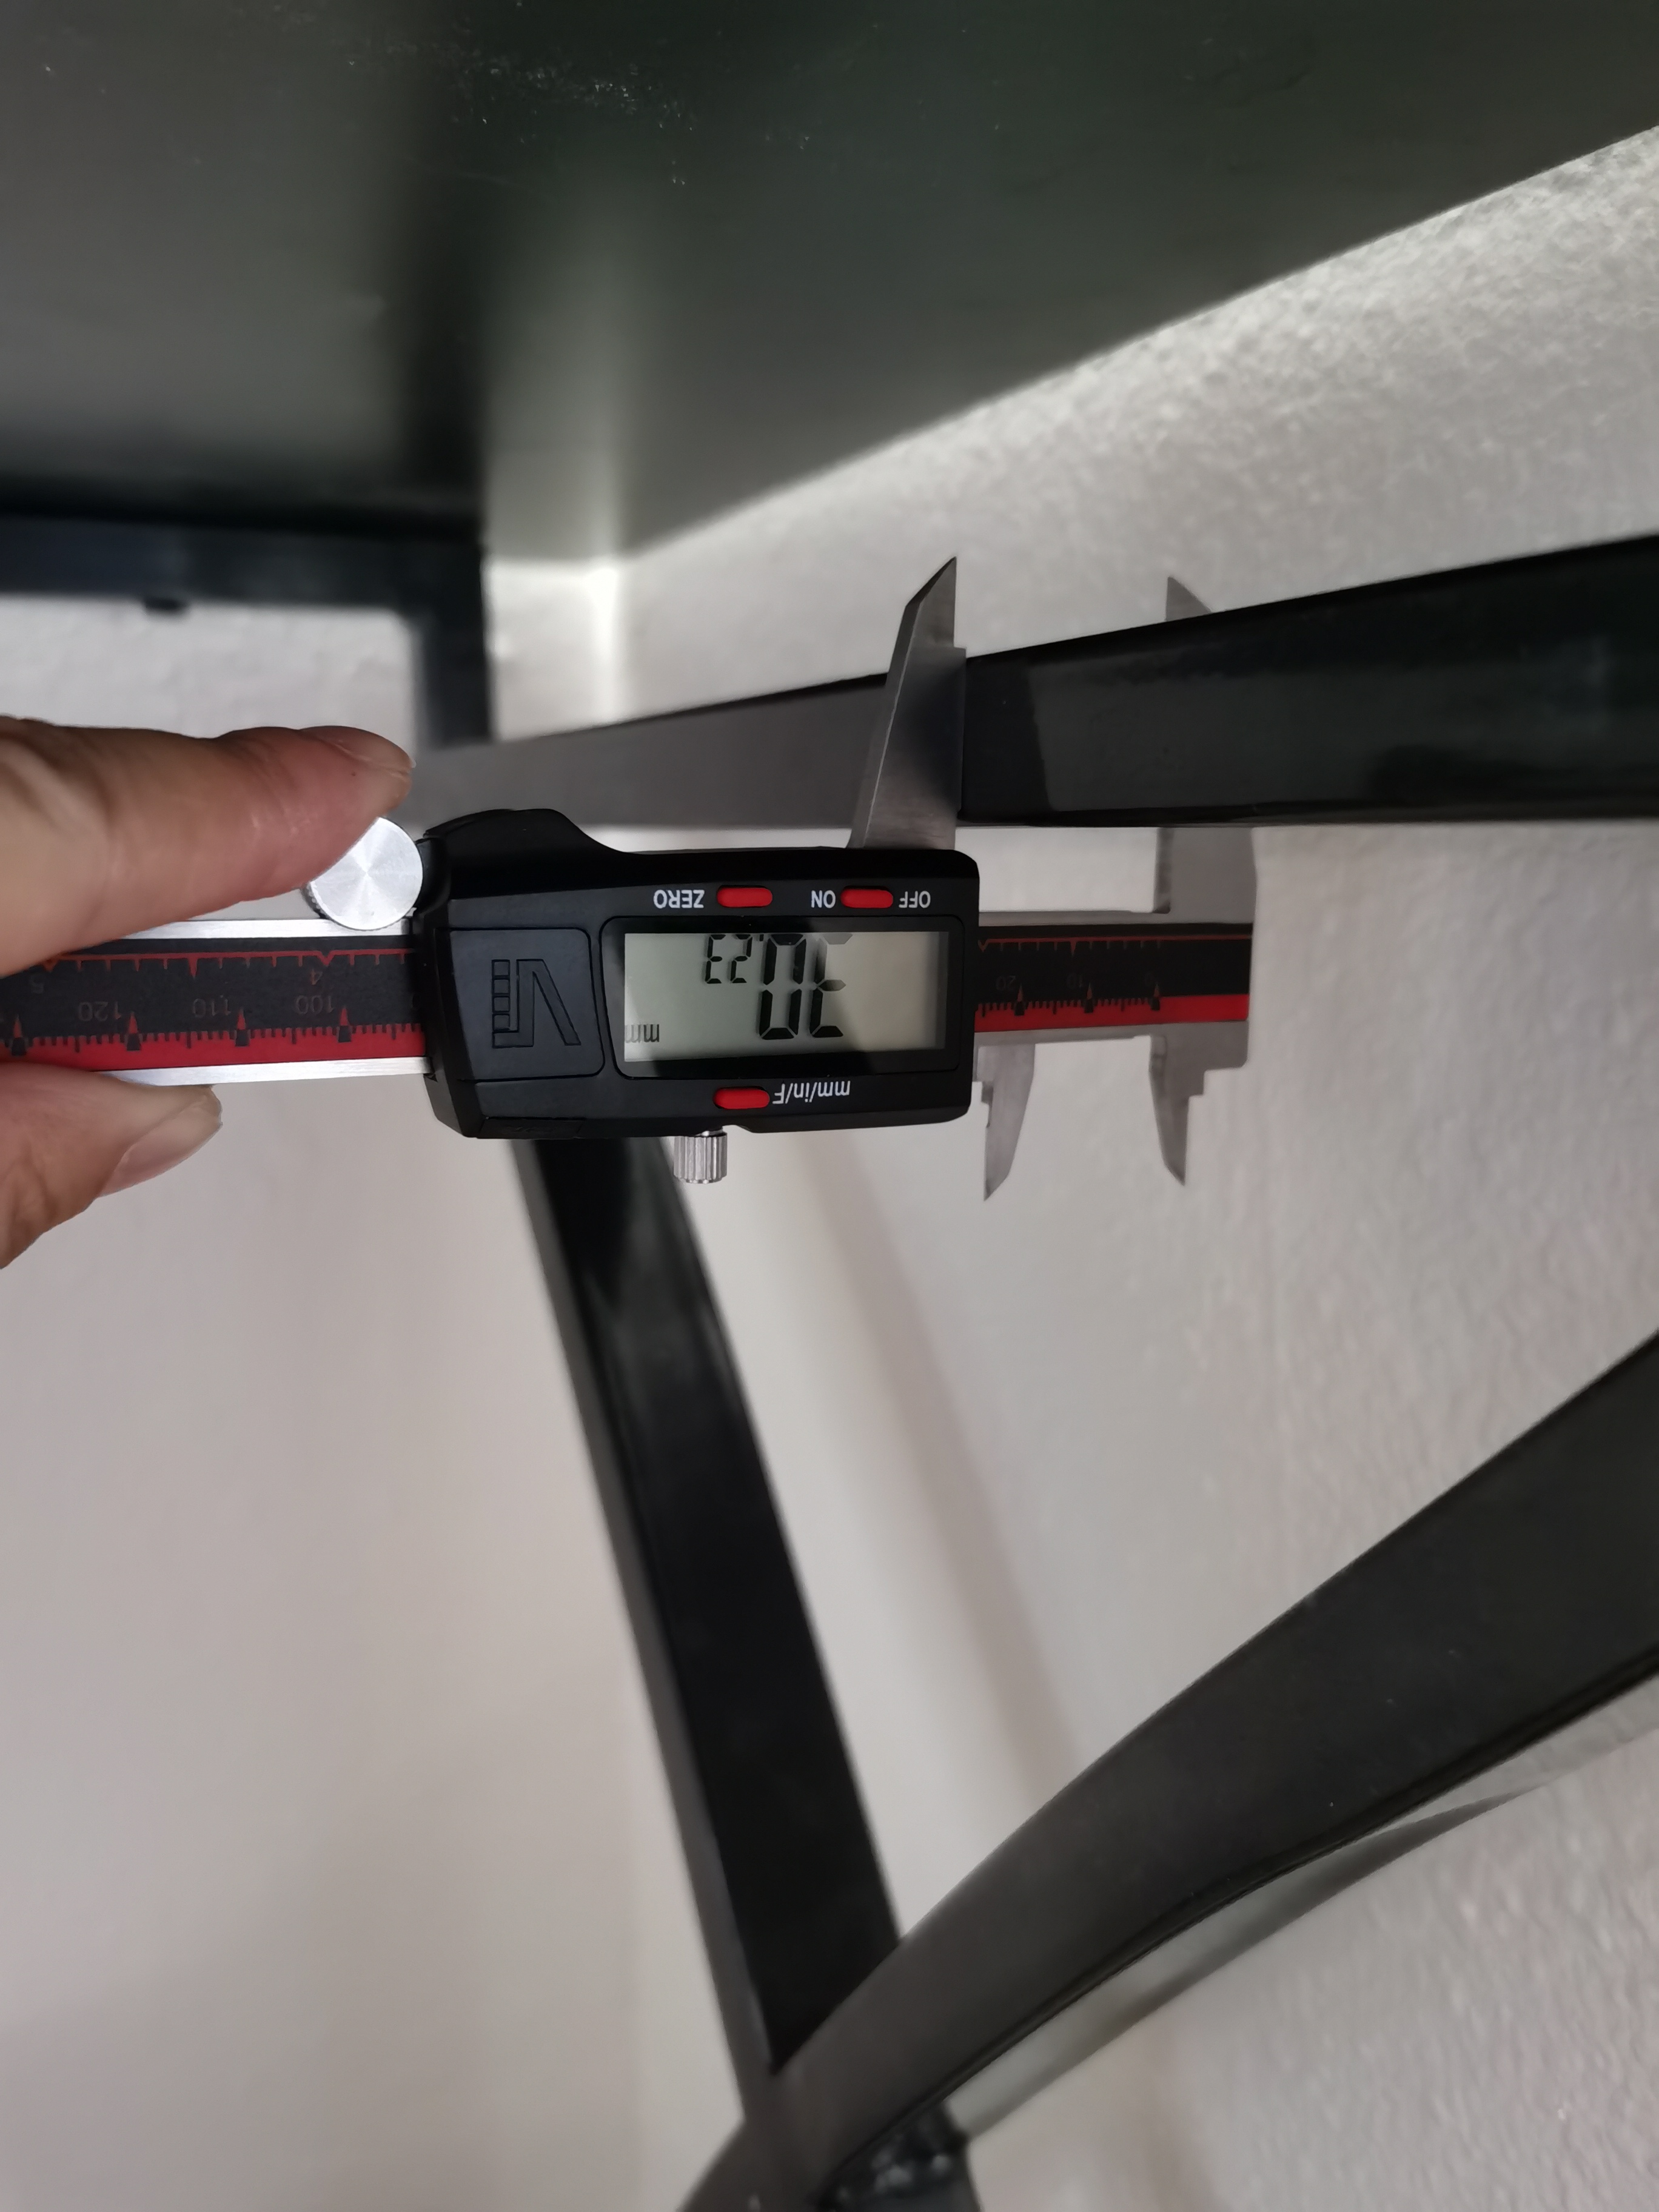
Some quick measurement
I found a piece of scrape plywood, whose size and thickness were perfect.
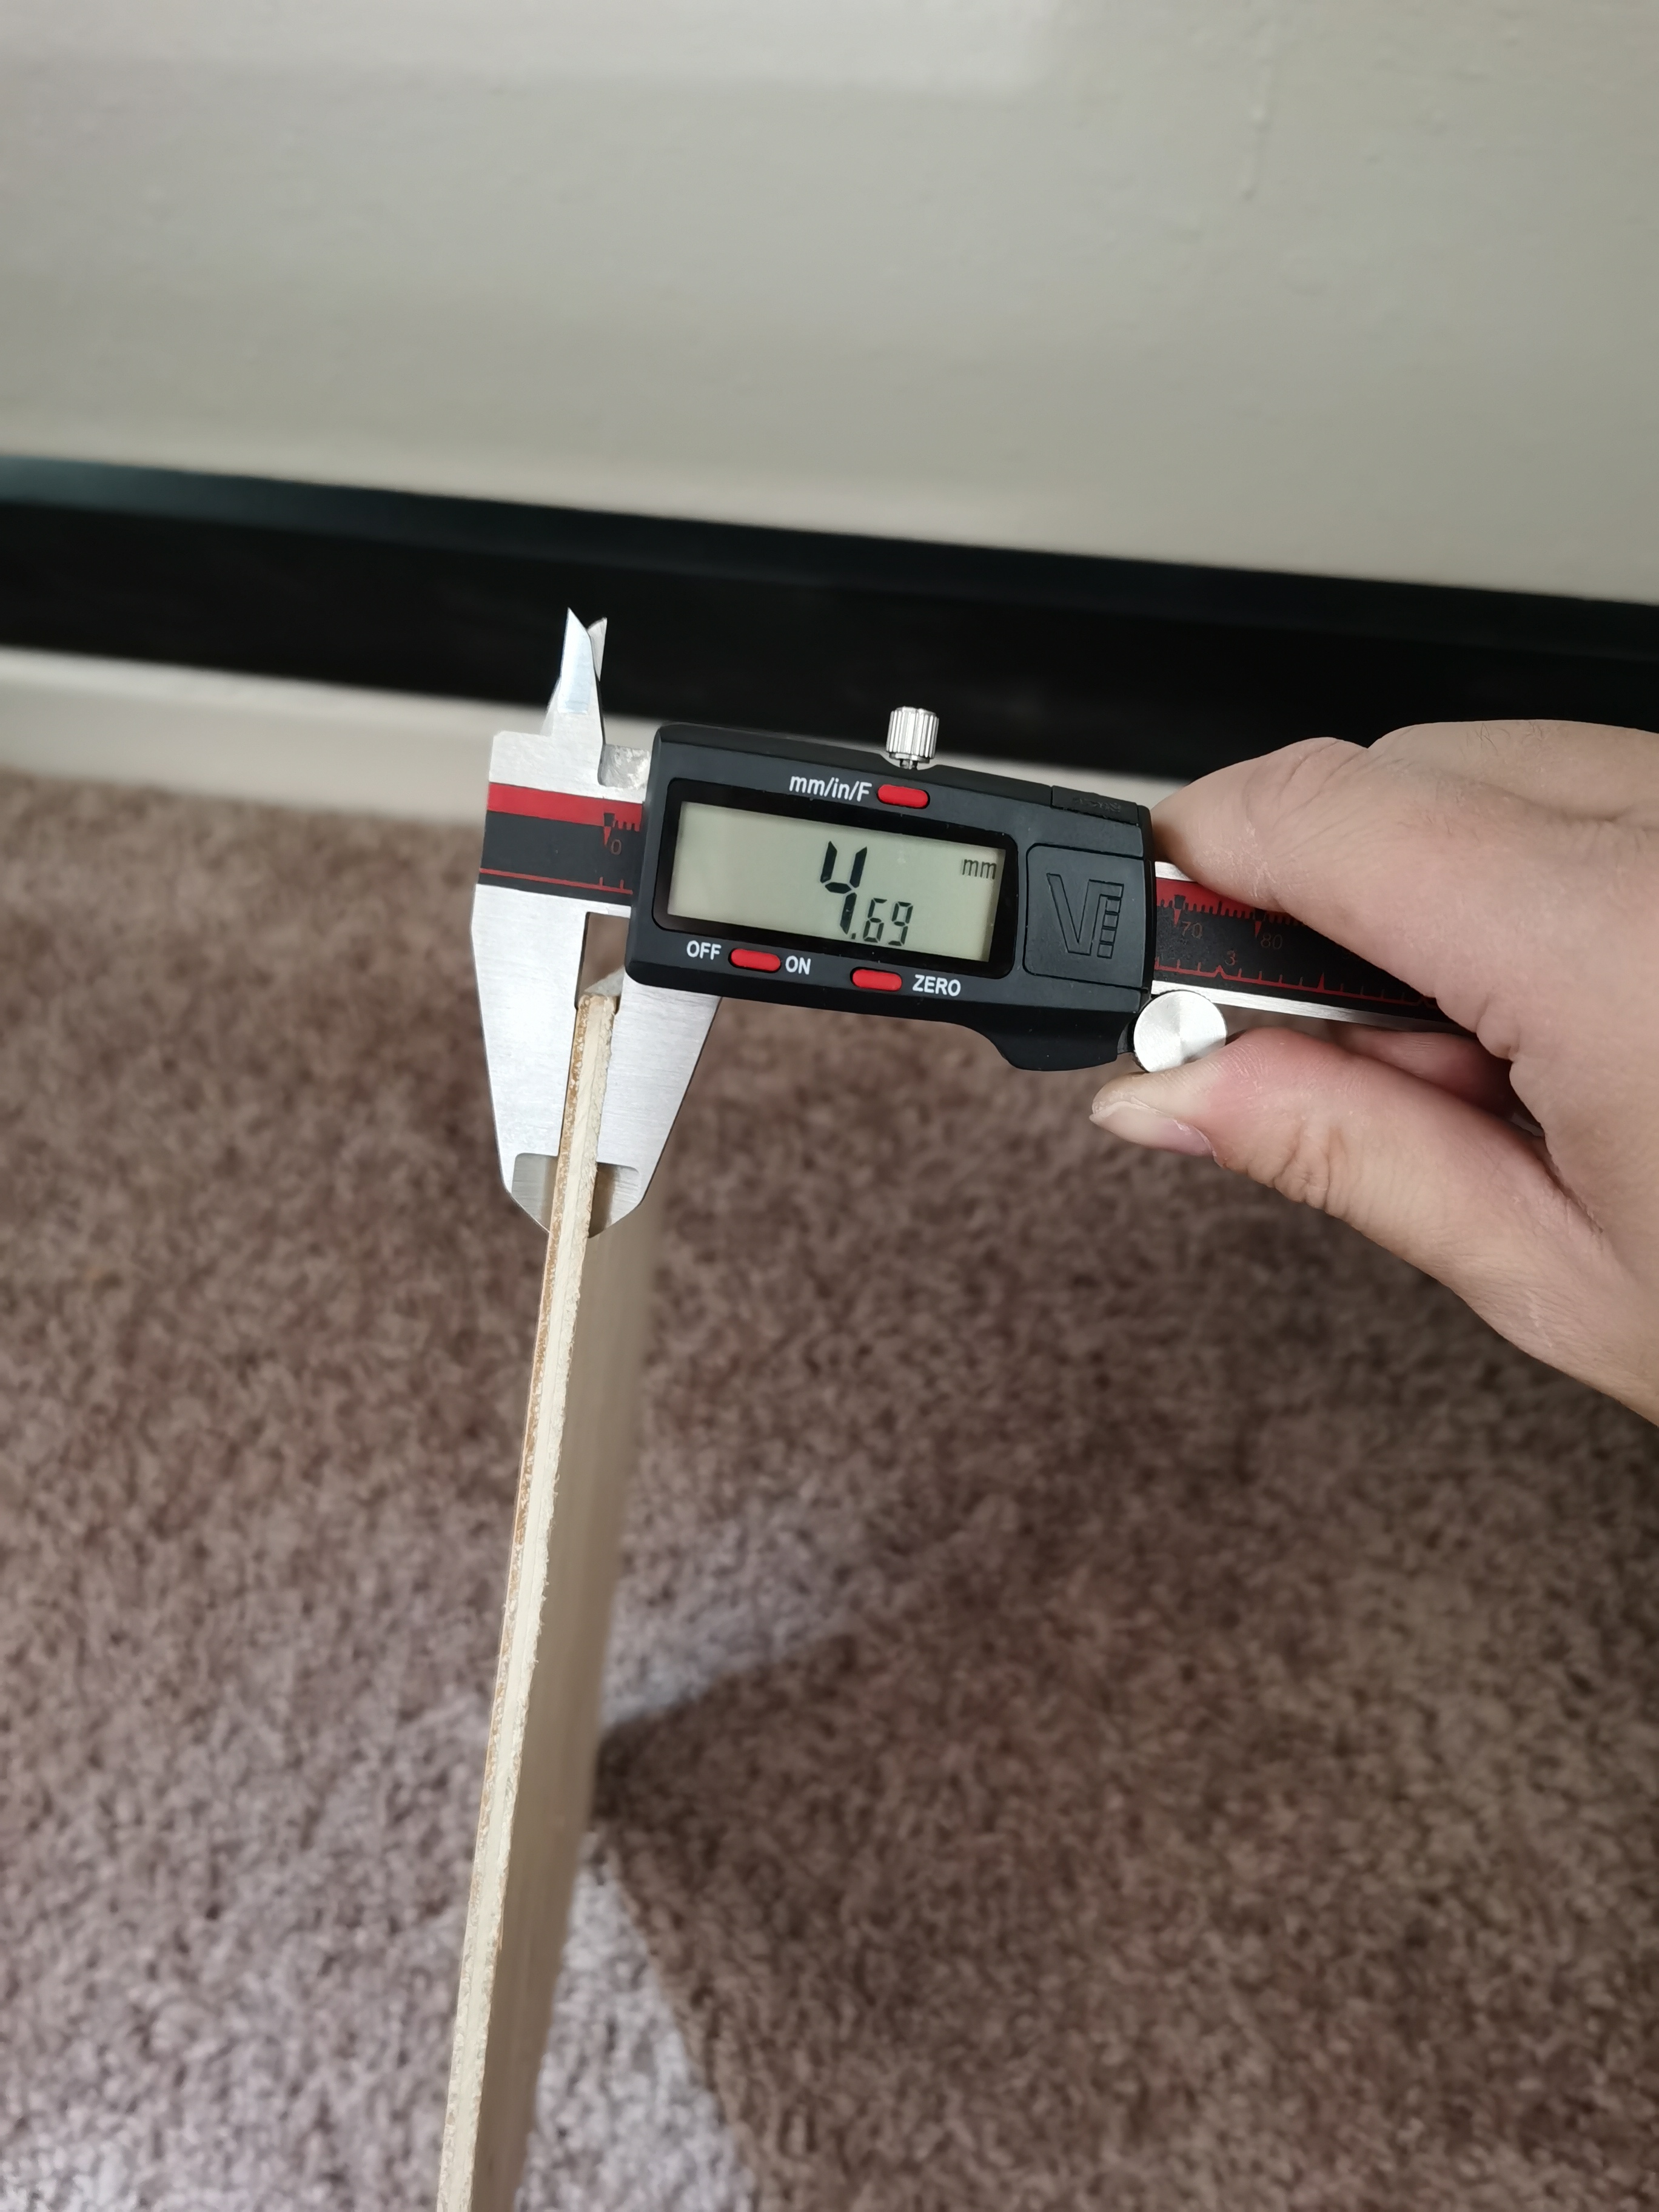
The thickness is perfect that you can use all screws in a normal case, but it is thin enough that it will not be too heavy.
I need to design and print two brackets to mount the “case” to the horizontal bar, so its width is critical.
Print the brackets
Actually 3 different kind of brackets are needed.
- A set to mount the plywood to the desk.
- A set to mount an old SATA SSD to the back of the plywood.
- A PCI-E bracket to hold the wireless adapter to the plywood.
Mounting bracket for the whole thing
(I should still have the model, but I am too lazy to take a screenshot.)
Anyway, the small holes are used to screw the bracket to the plywood.
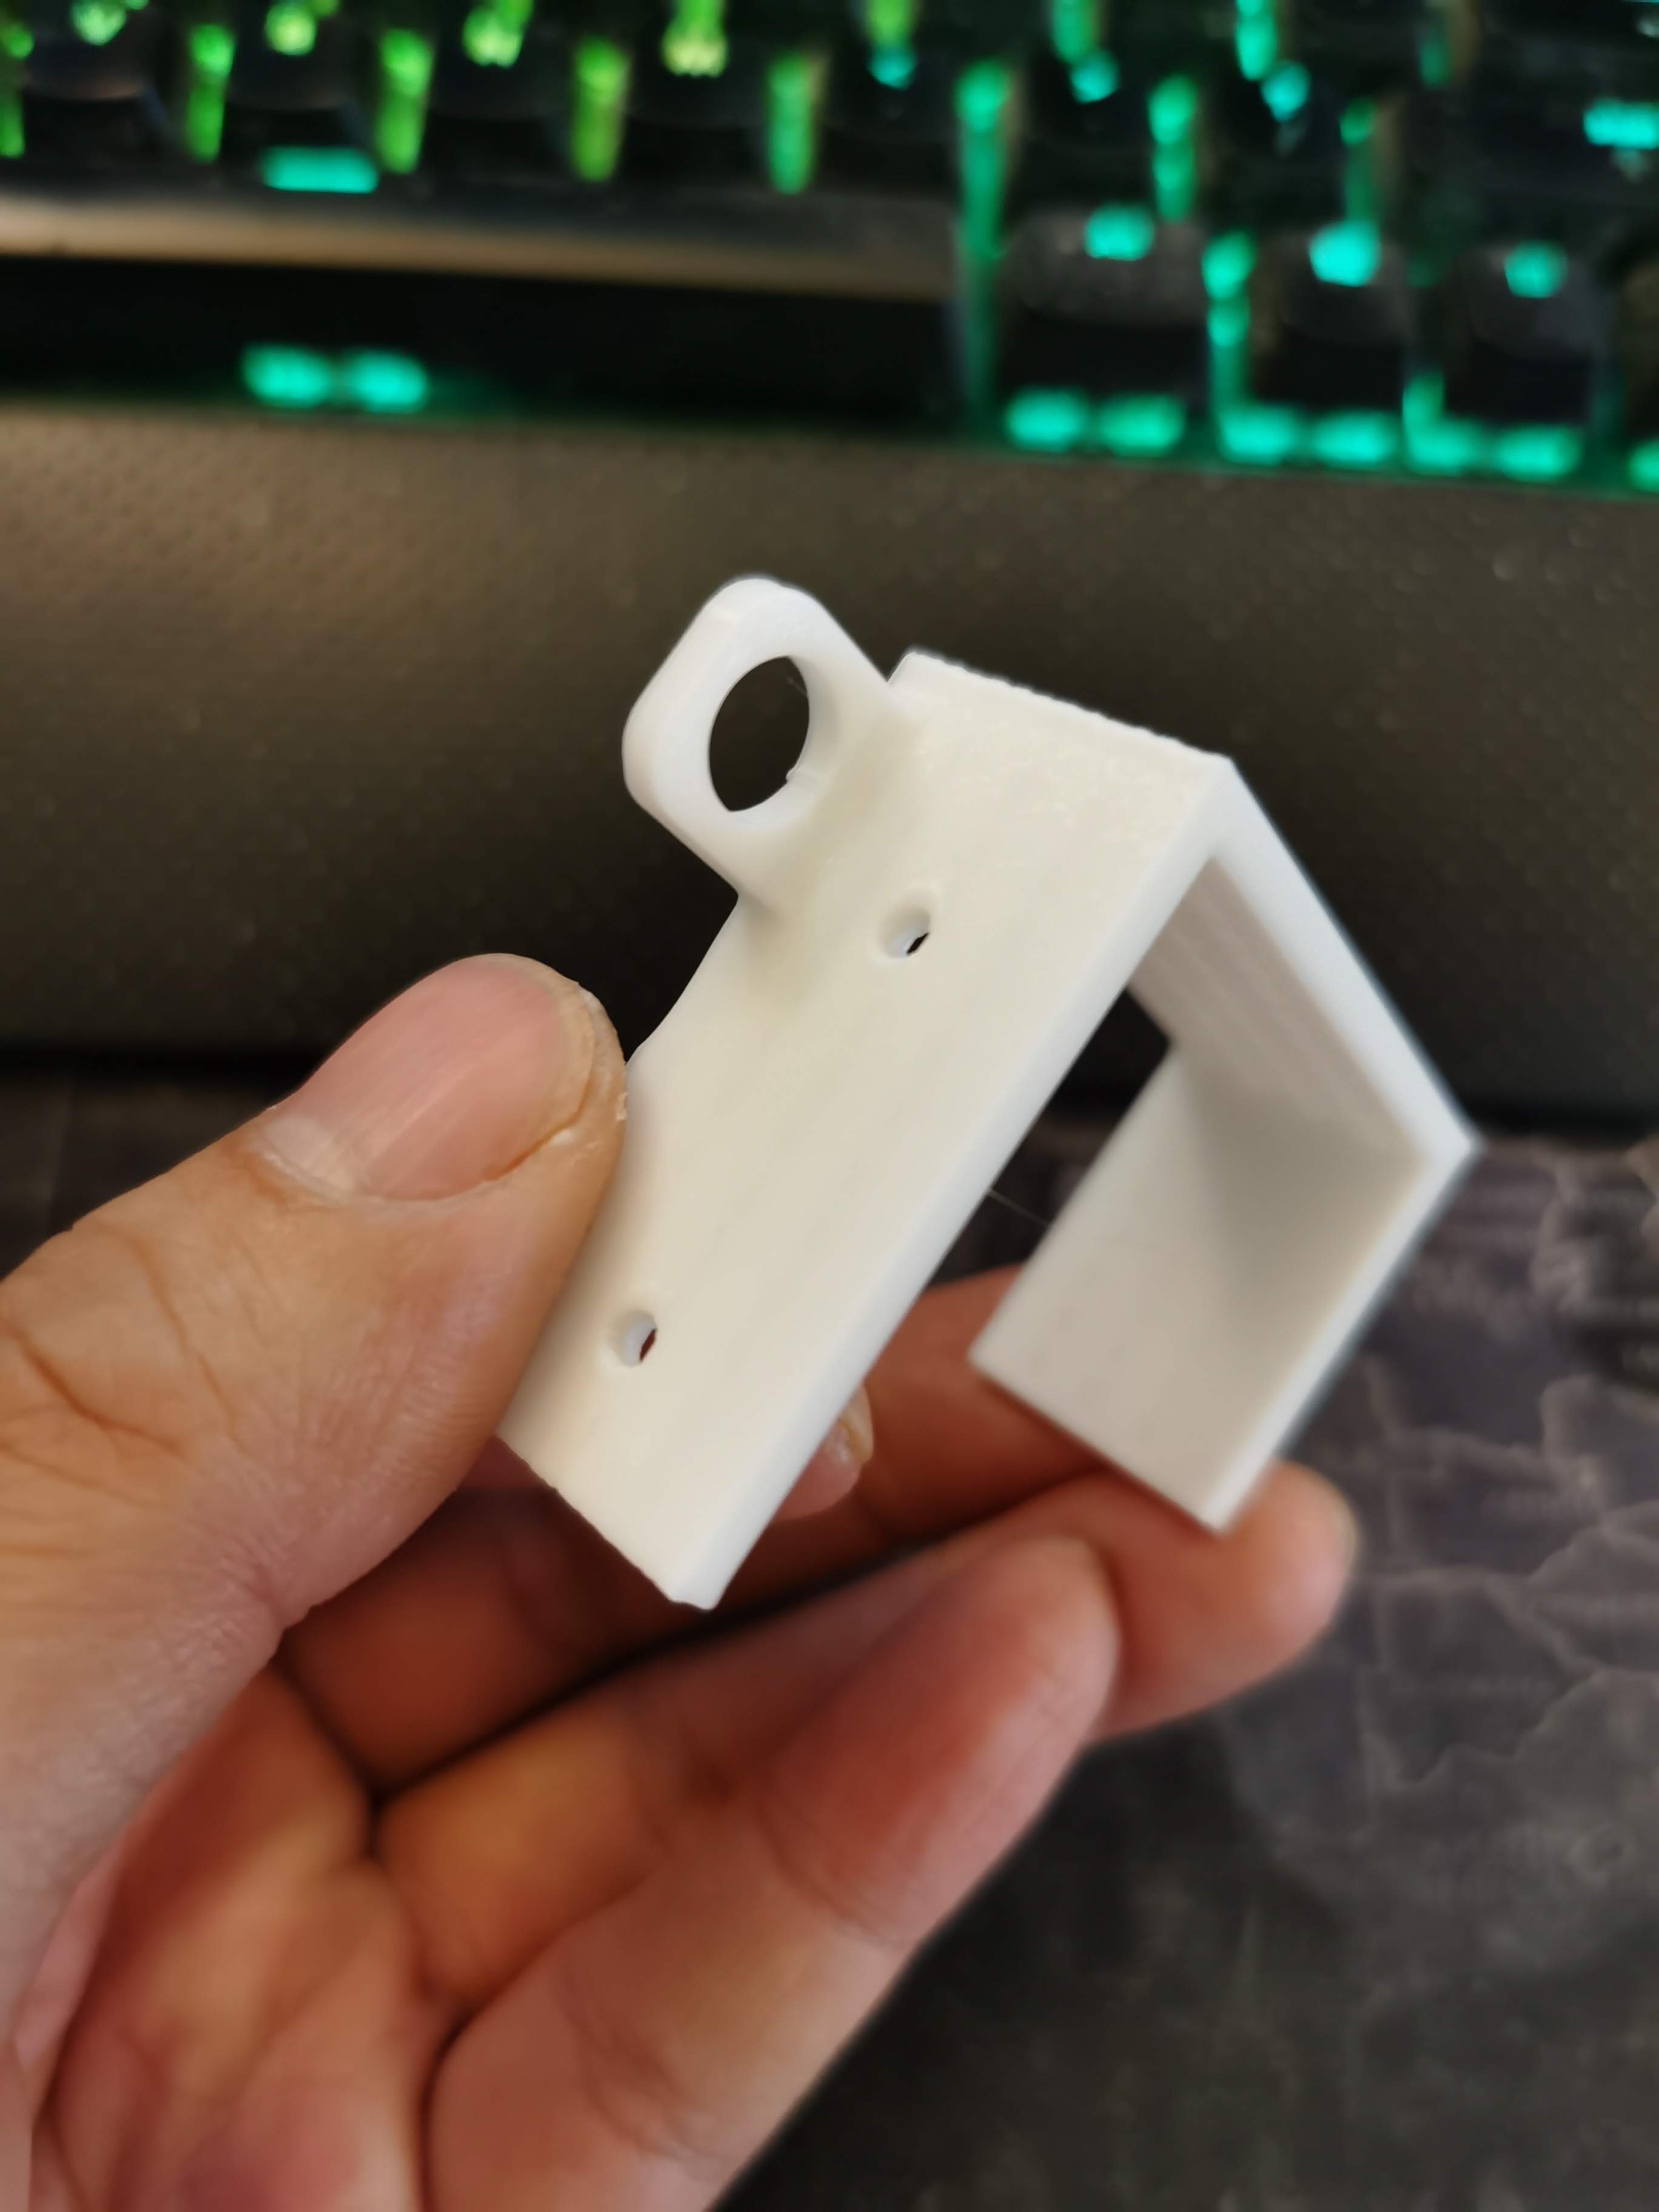
The big hole perpendicular to the bracket is for the DC female port of the Pico PSU (example link, not an ad).
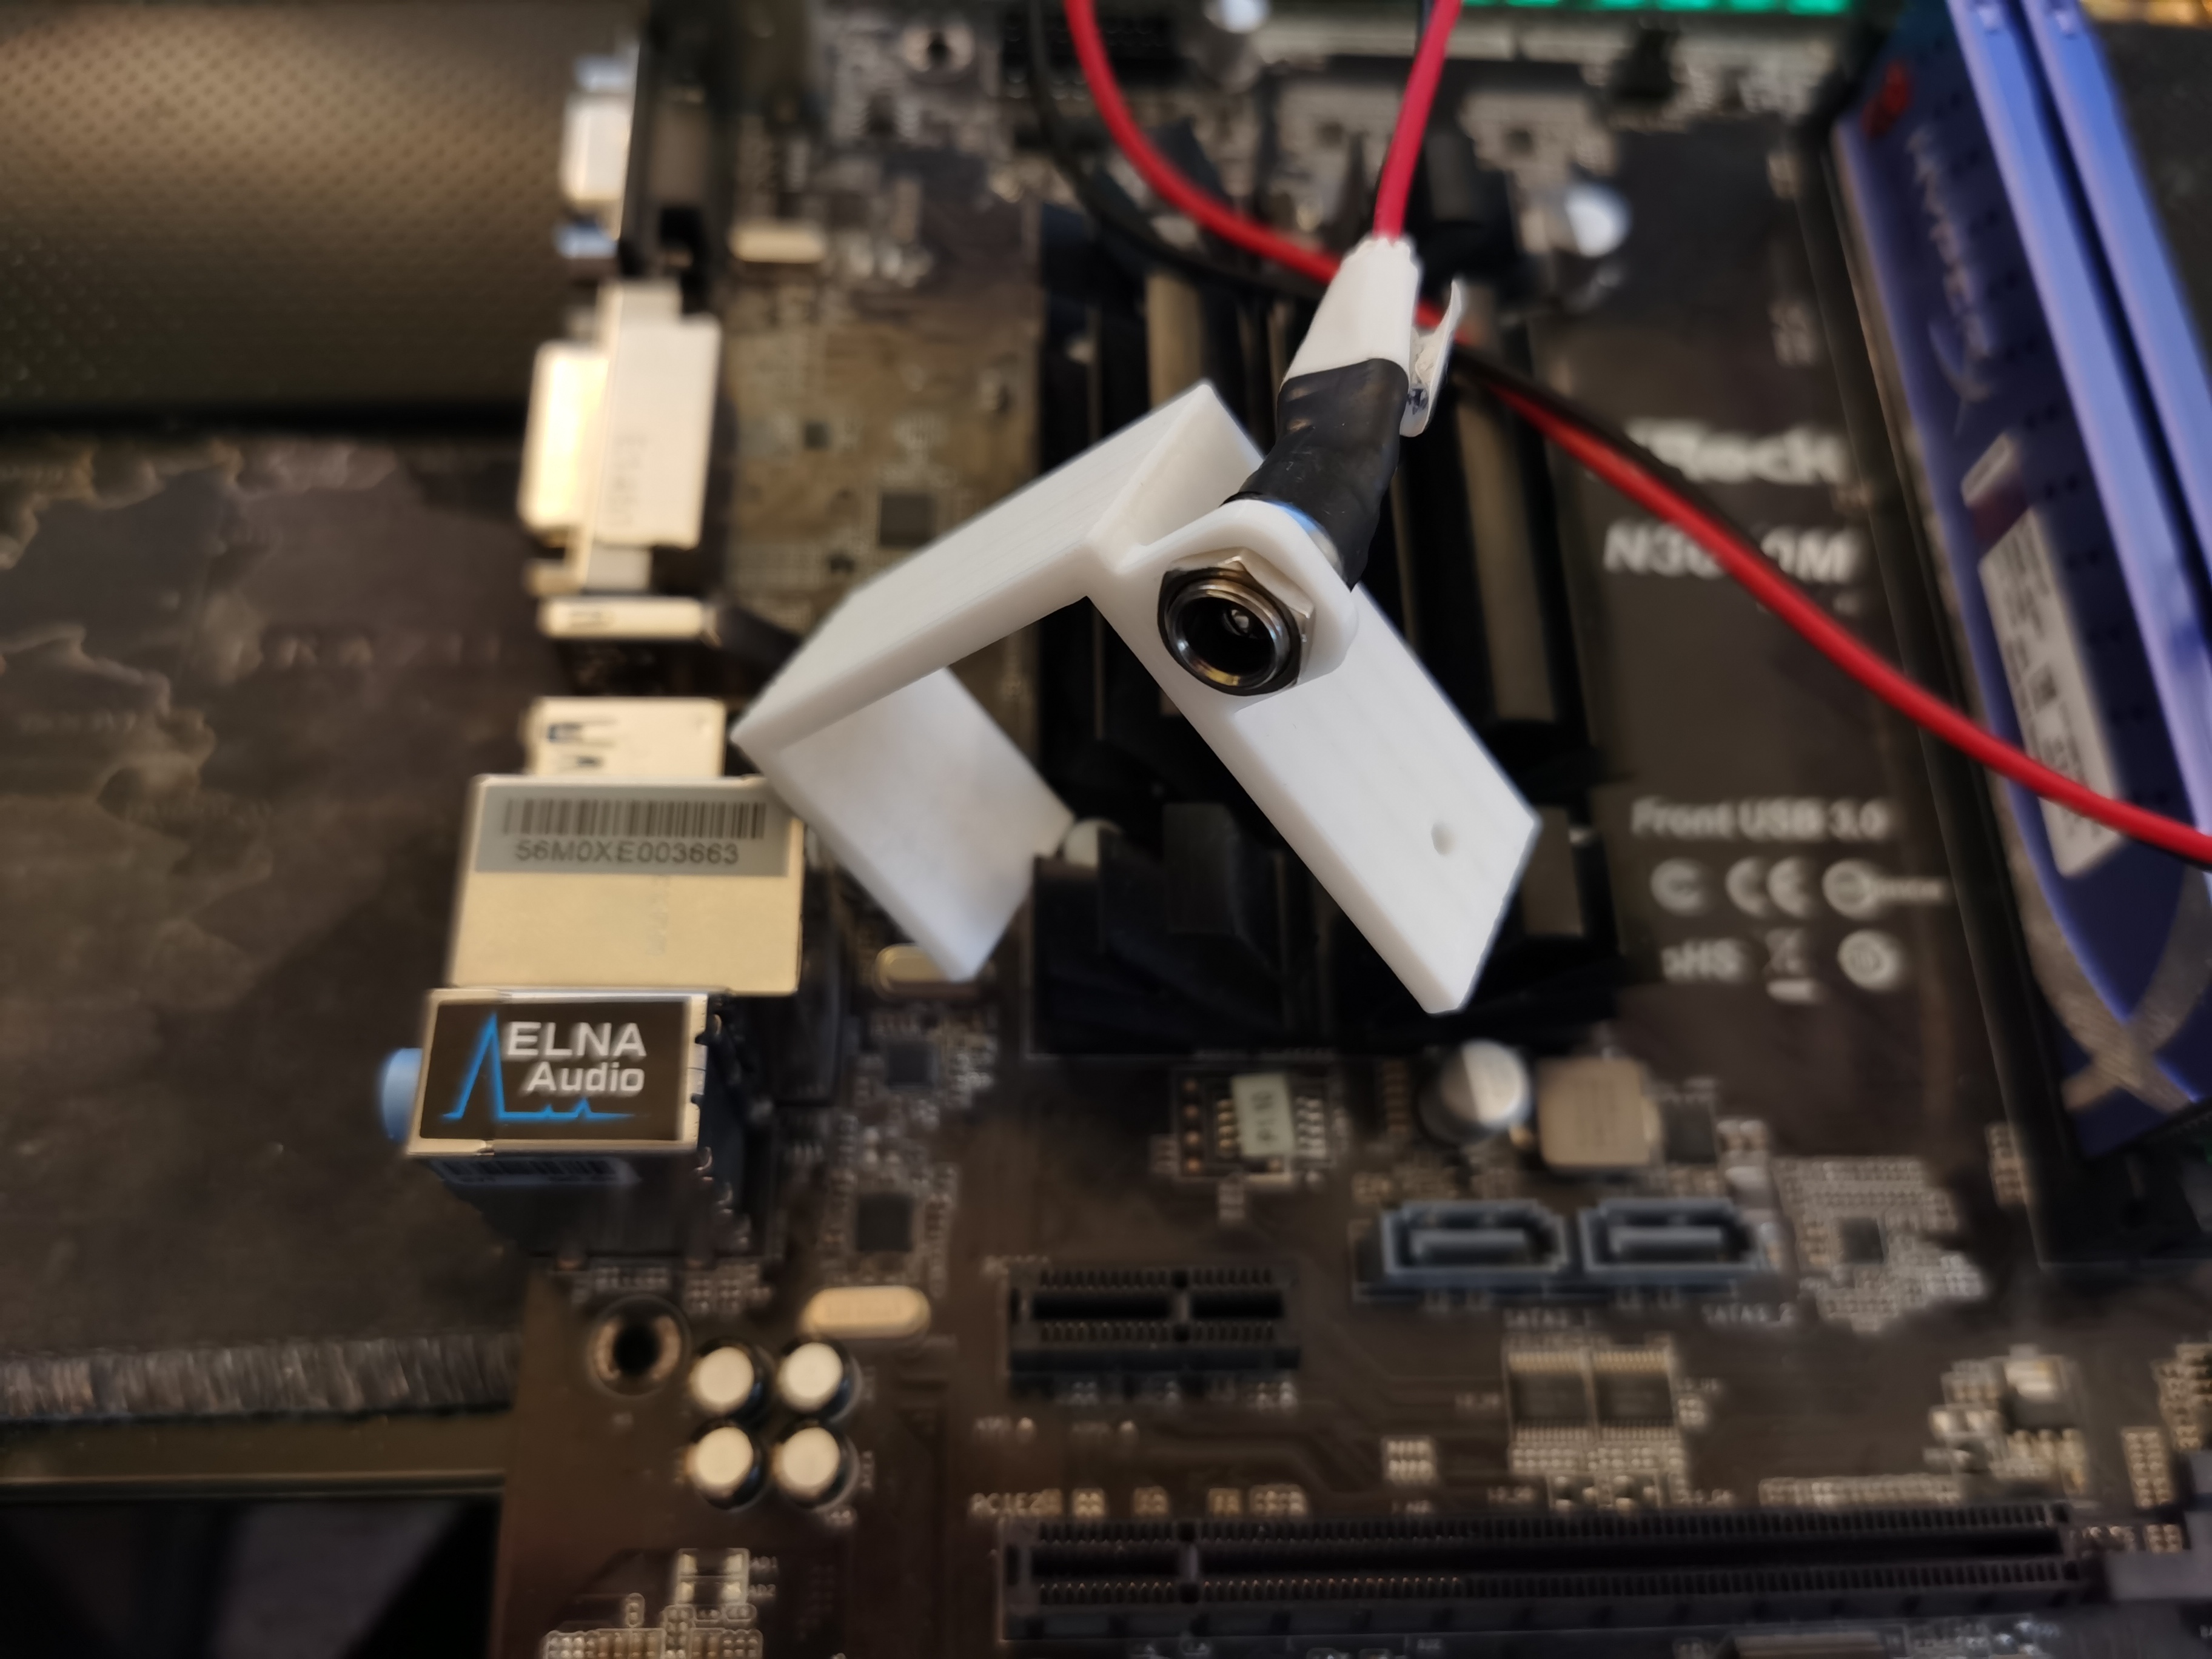
The other bracket has a slot to hold the power button like this.
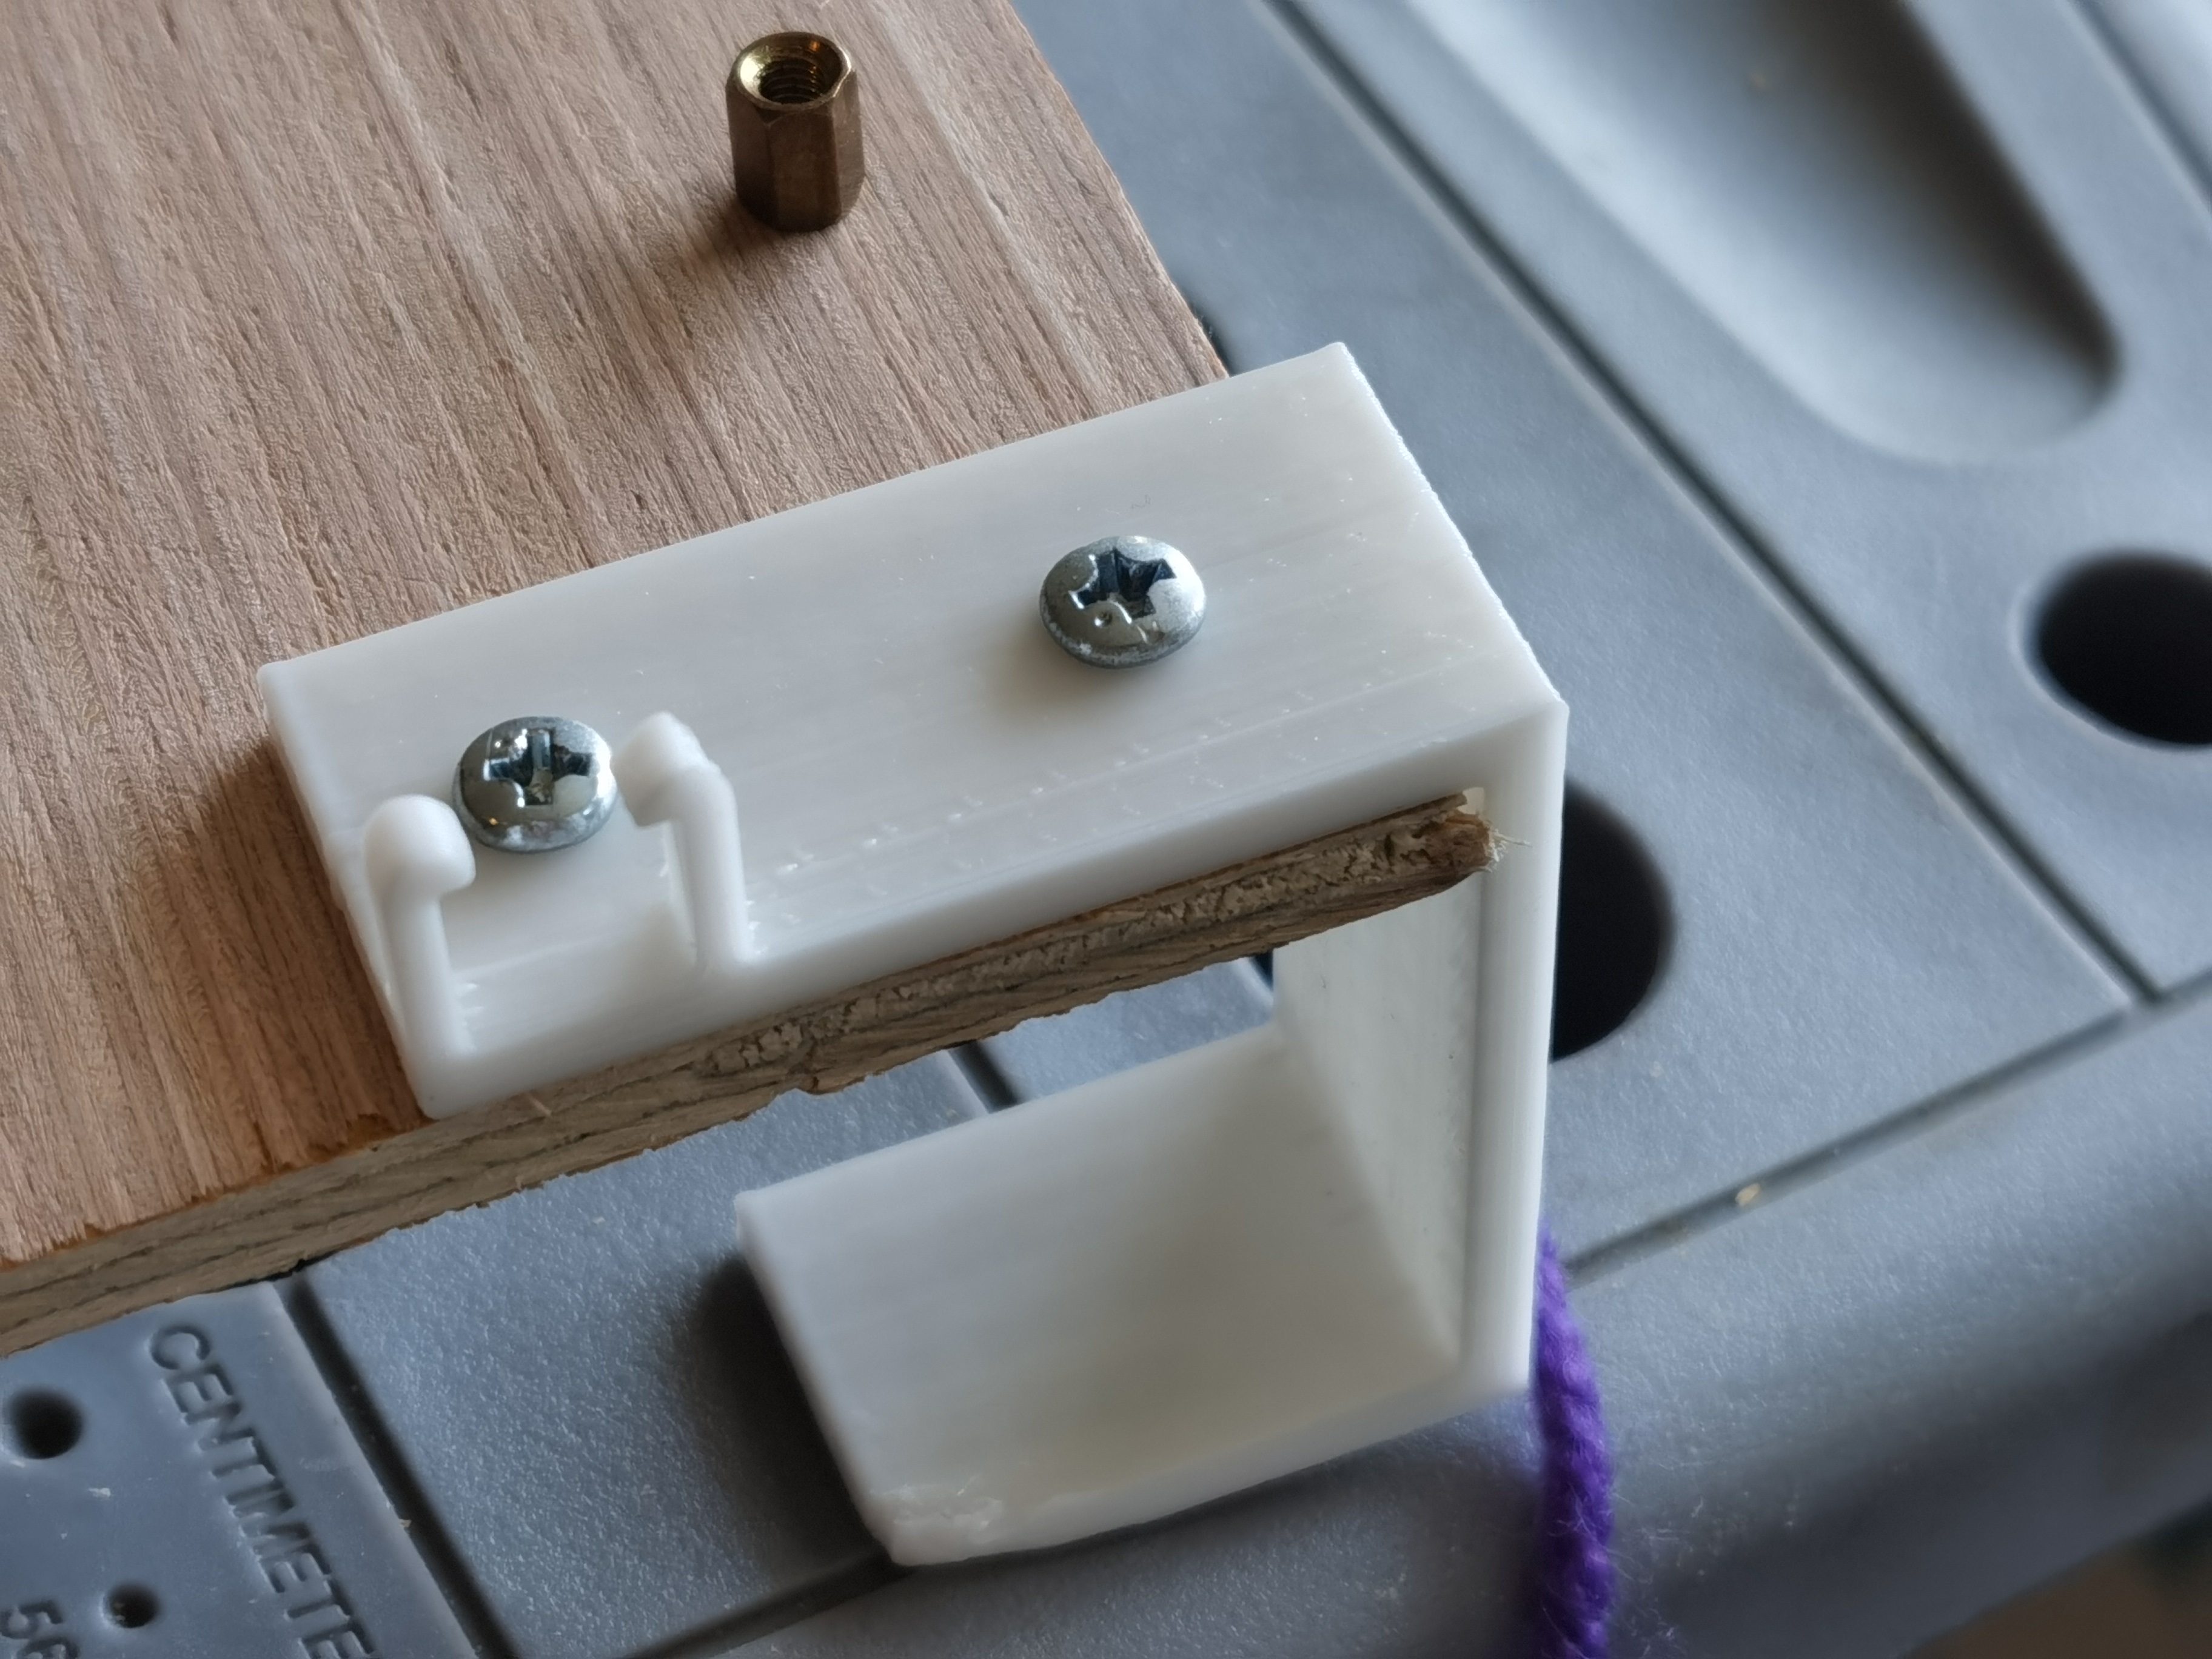
Please ignore the wrapped corner. Not a big deal for a functional print. :)
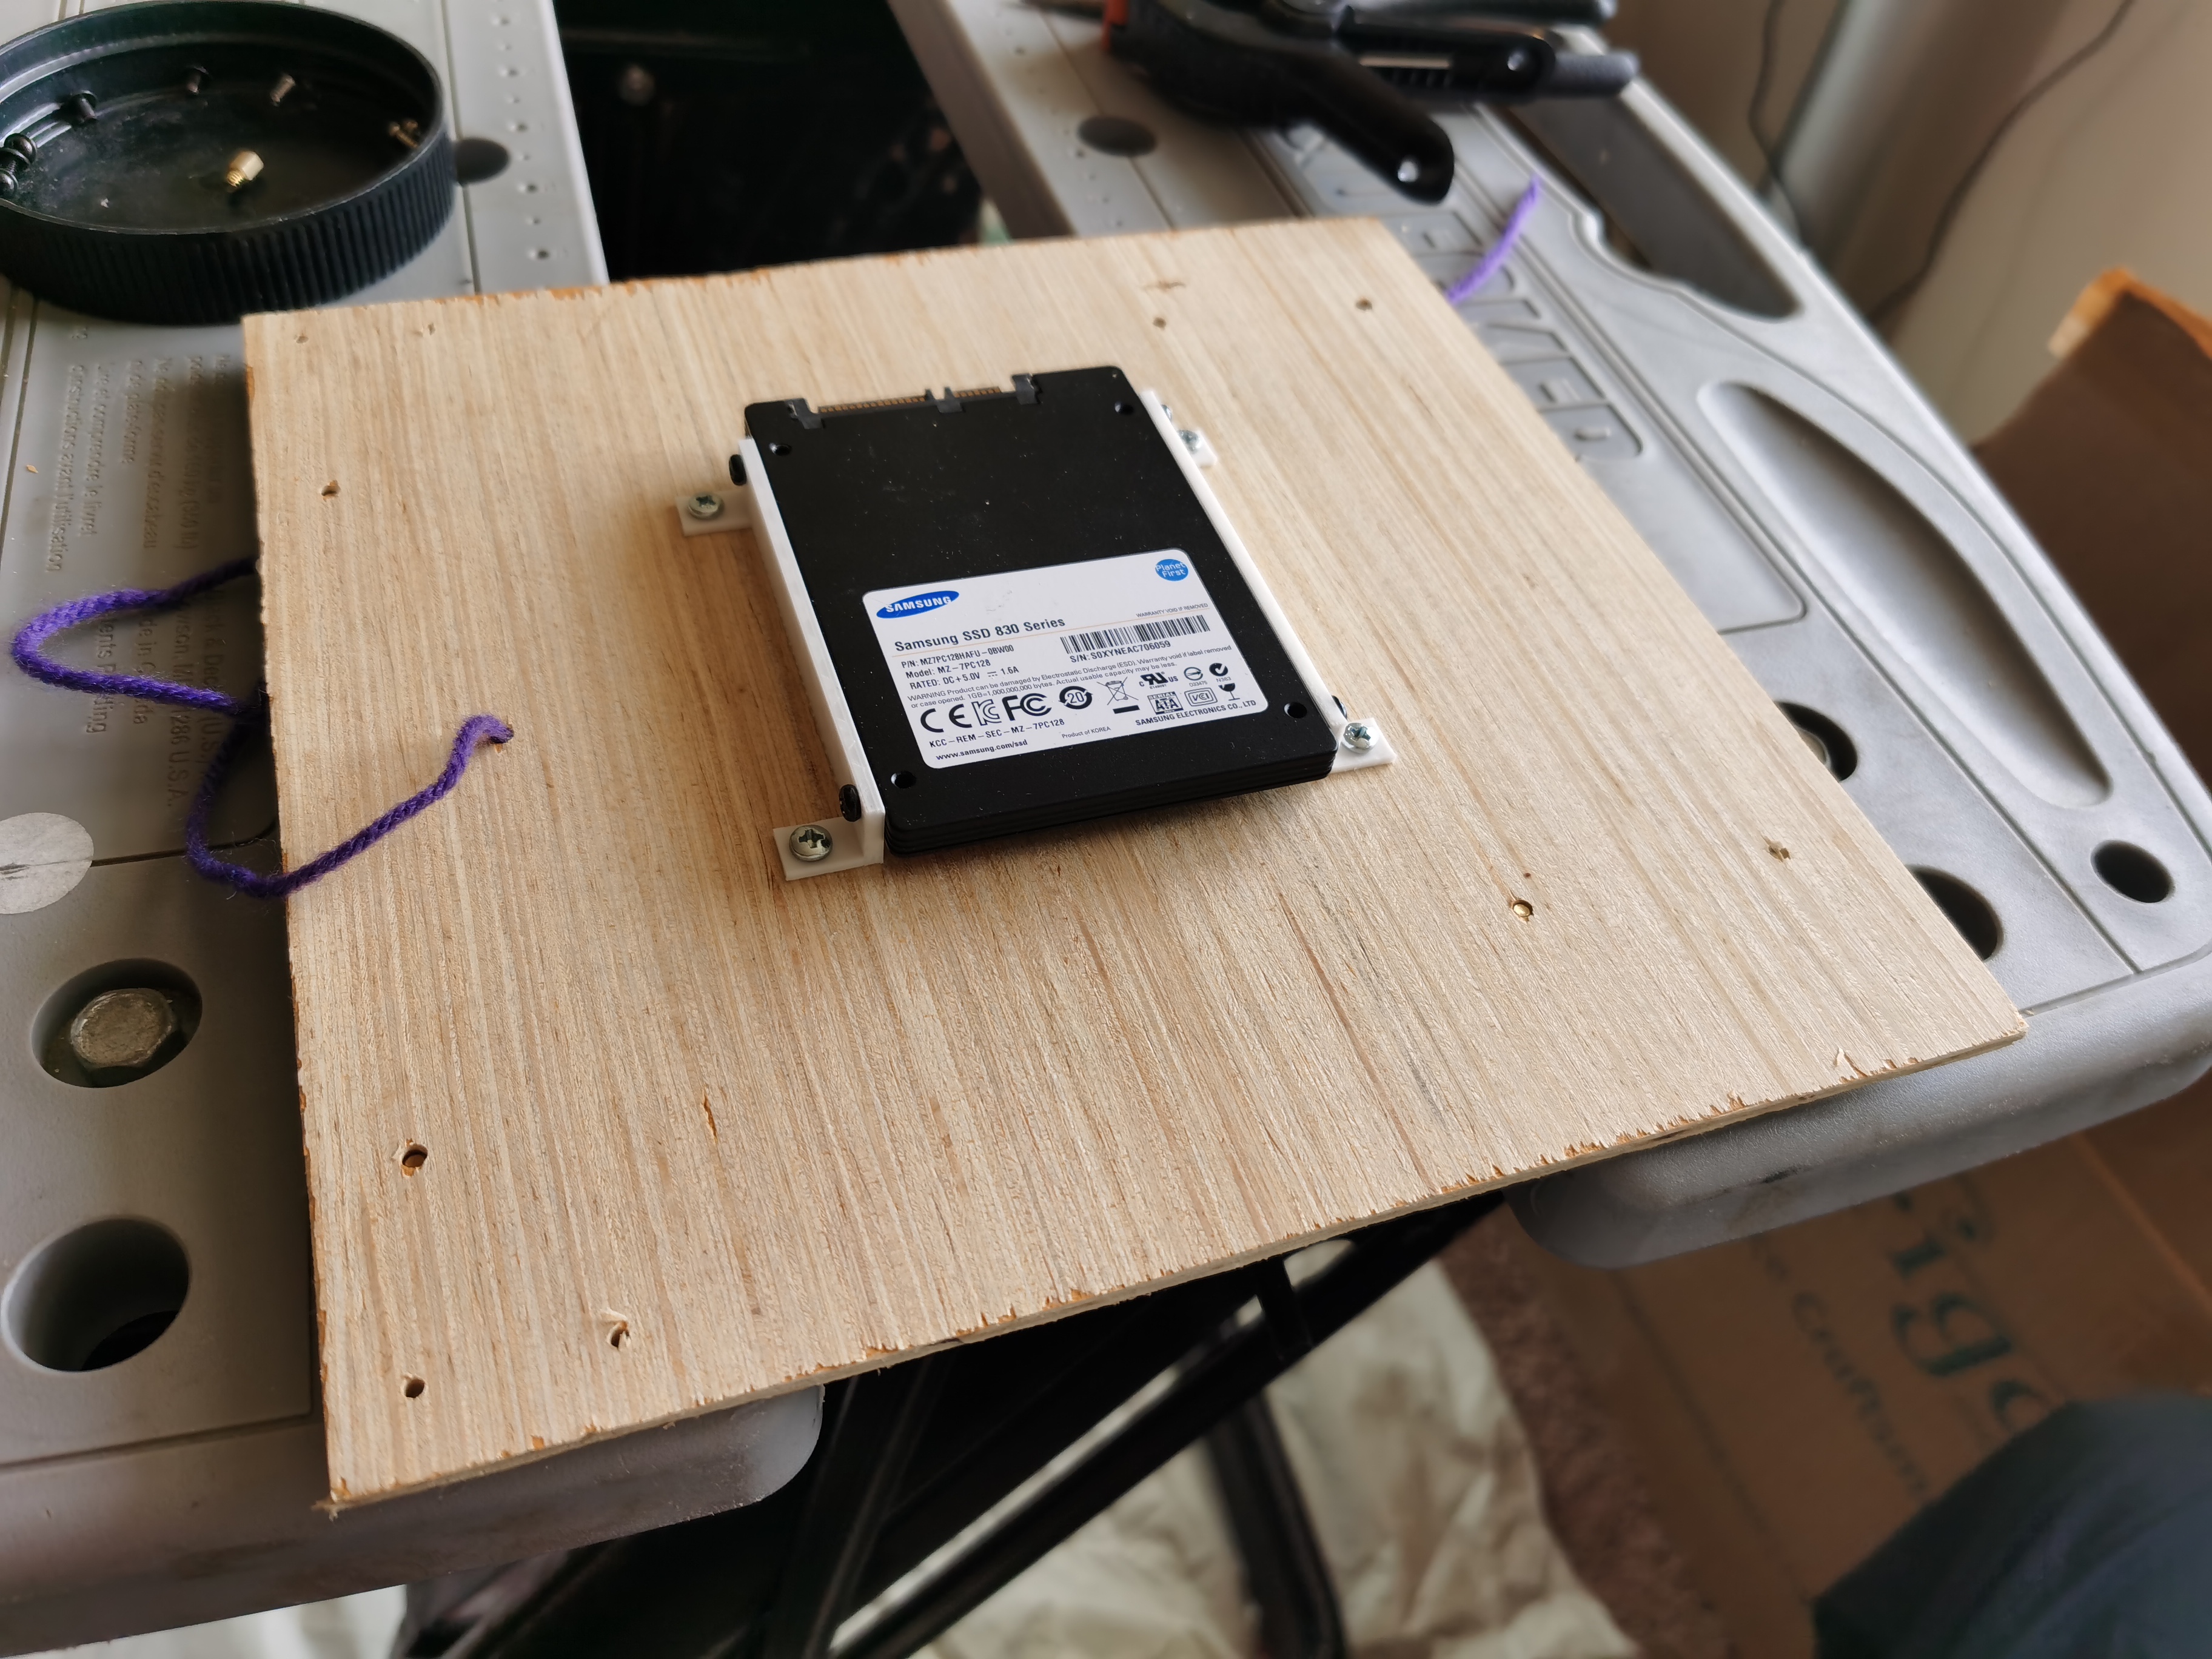
Mount brackets for the SSD
There are already existing models on thingiverse.com to mount 2.5’’ disks to whatever place. I just took one of these models and slightly modified it for my needs.
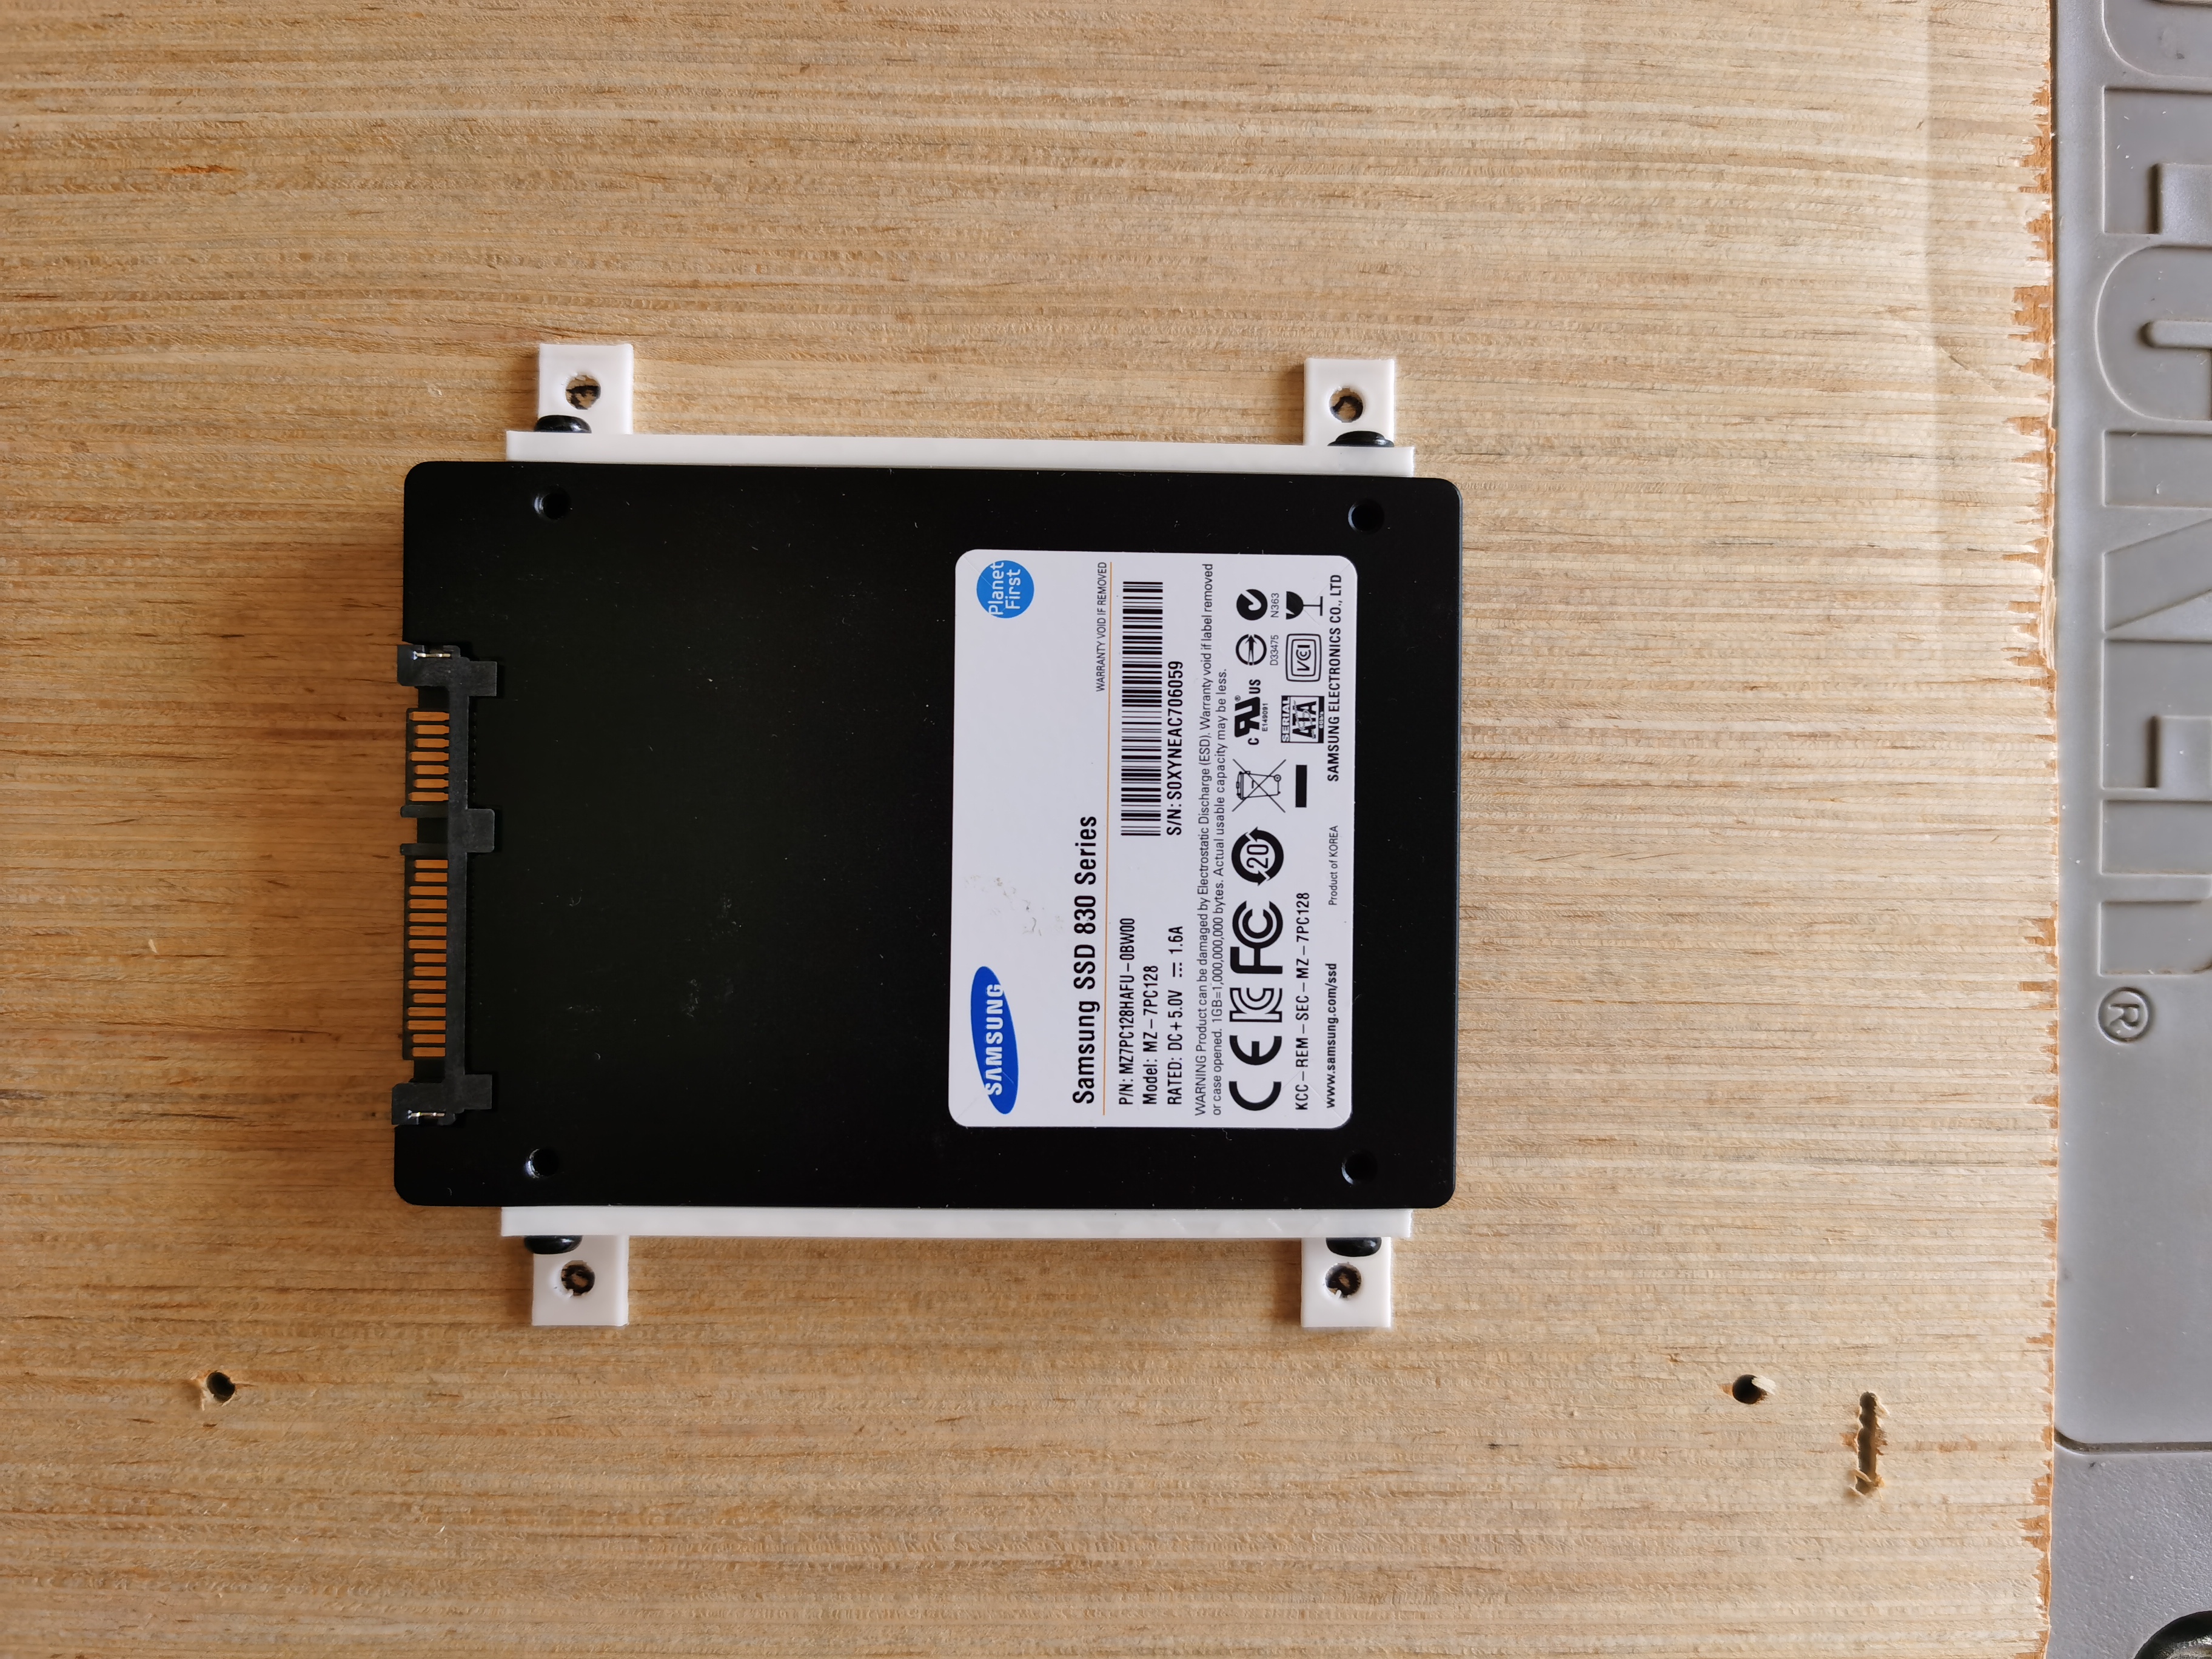
Just lay the disk on the plywood and drill for 4 holes.
PCI-E bracket for the wireless card
The original stainless steel is too heavy and thin, so that it will be very difficult to hold it on the plywood without a proper case. More importantly, the motherboard will be mounted vertically under the desk, so the wireless card might fall anytime – I need something different.
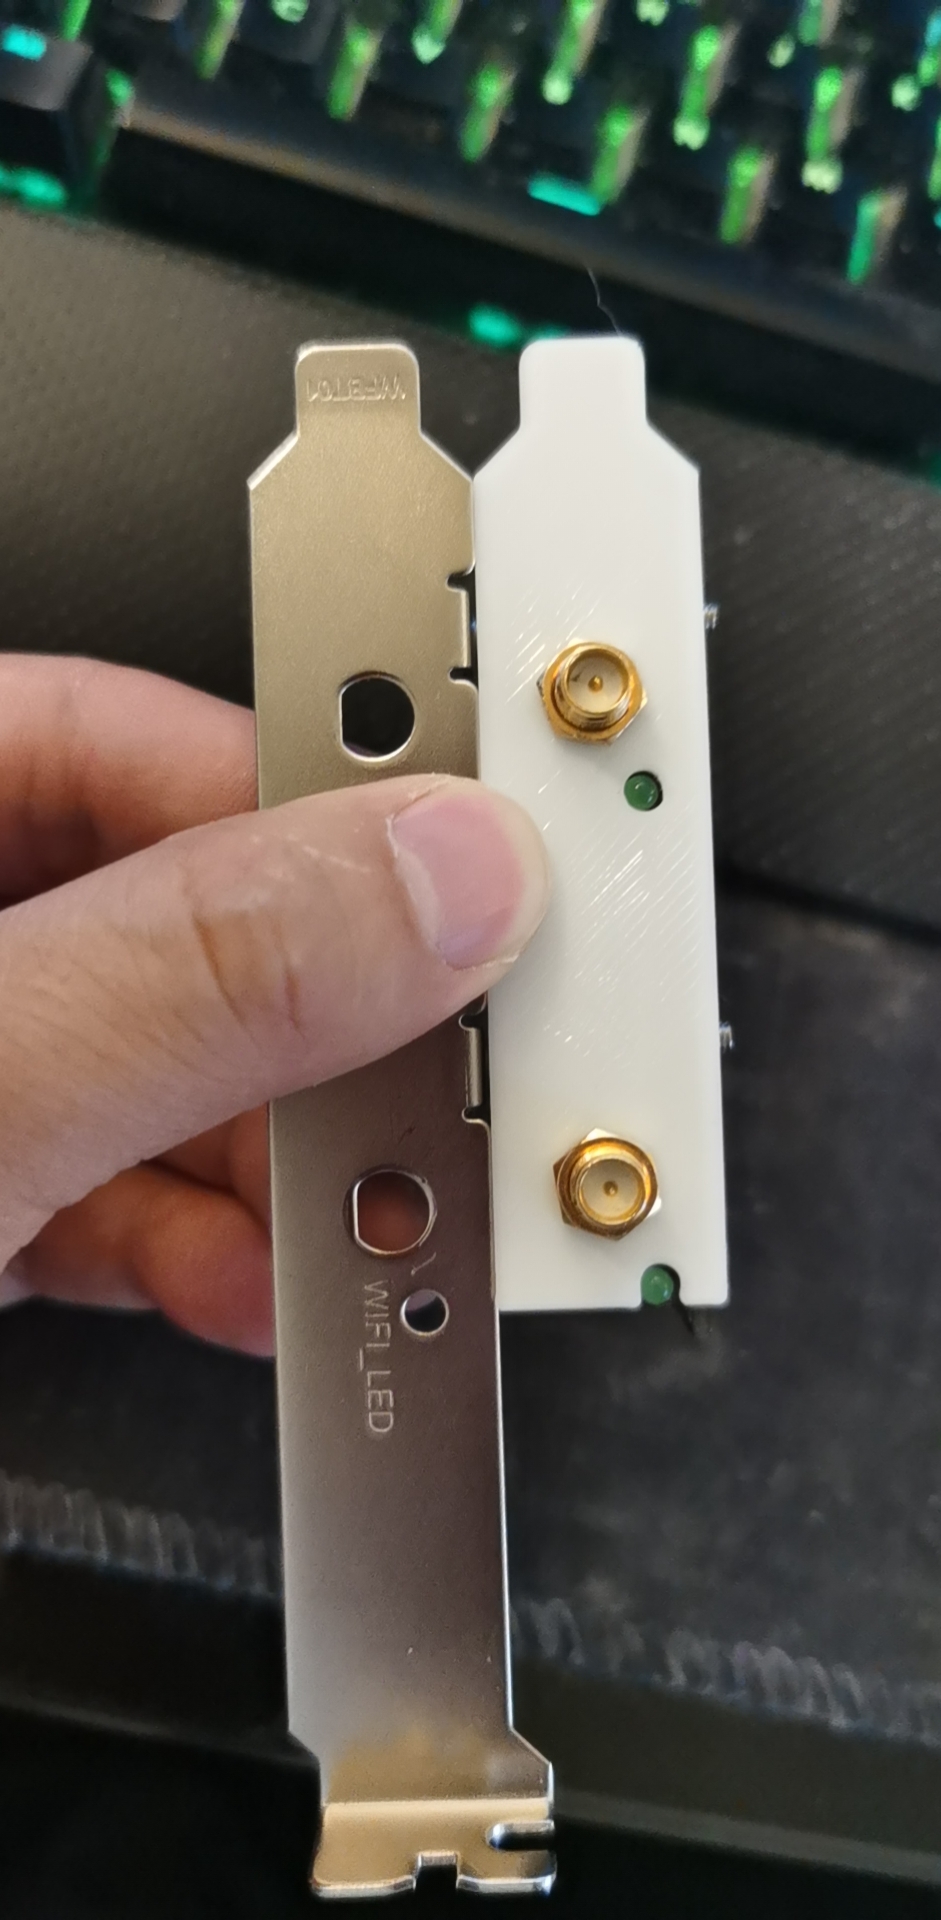
Assemble everything
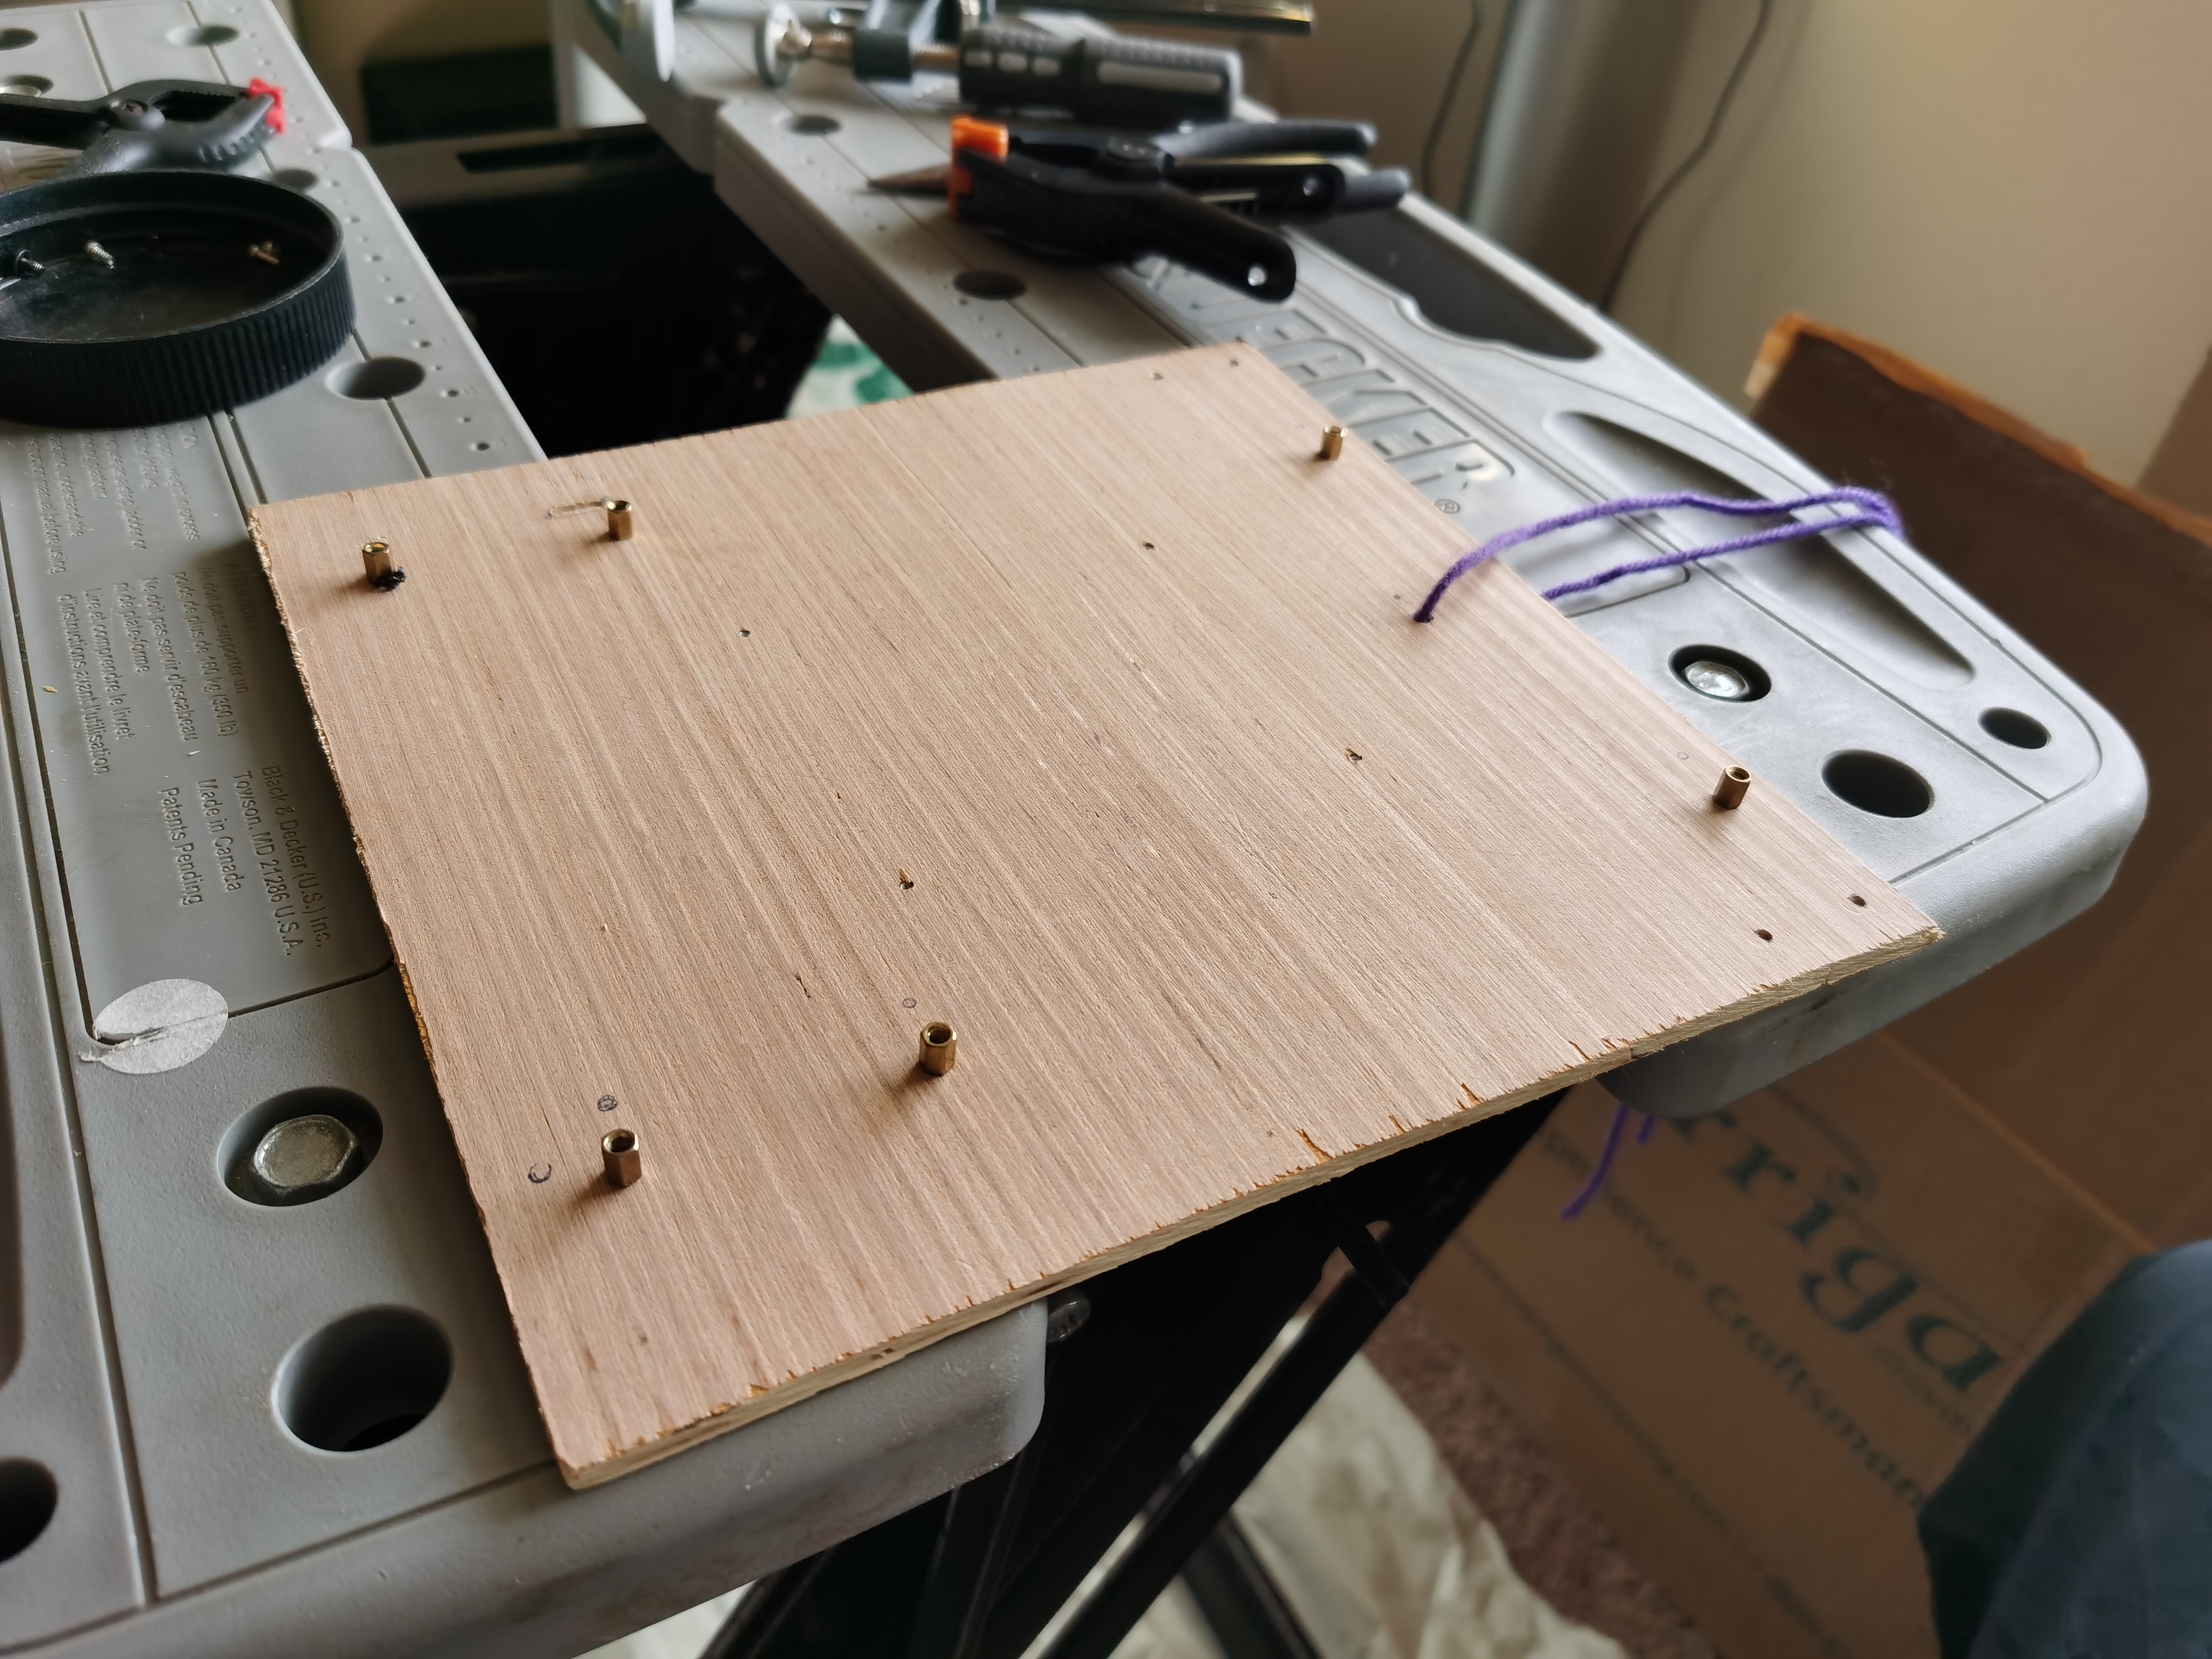
For a Micro-ATX motherboard, there are 6 mounting screws. 2 holes for each bracket to mount the plywood to the disk. 4 holes for the SSD. Additionally, a slot for the wireless adapter.
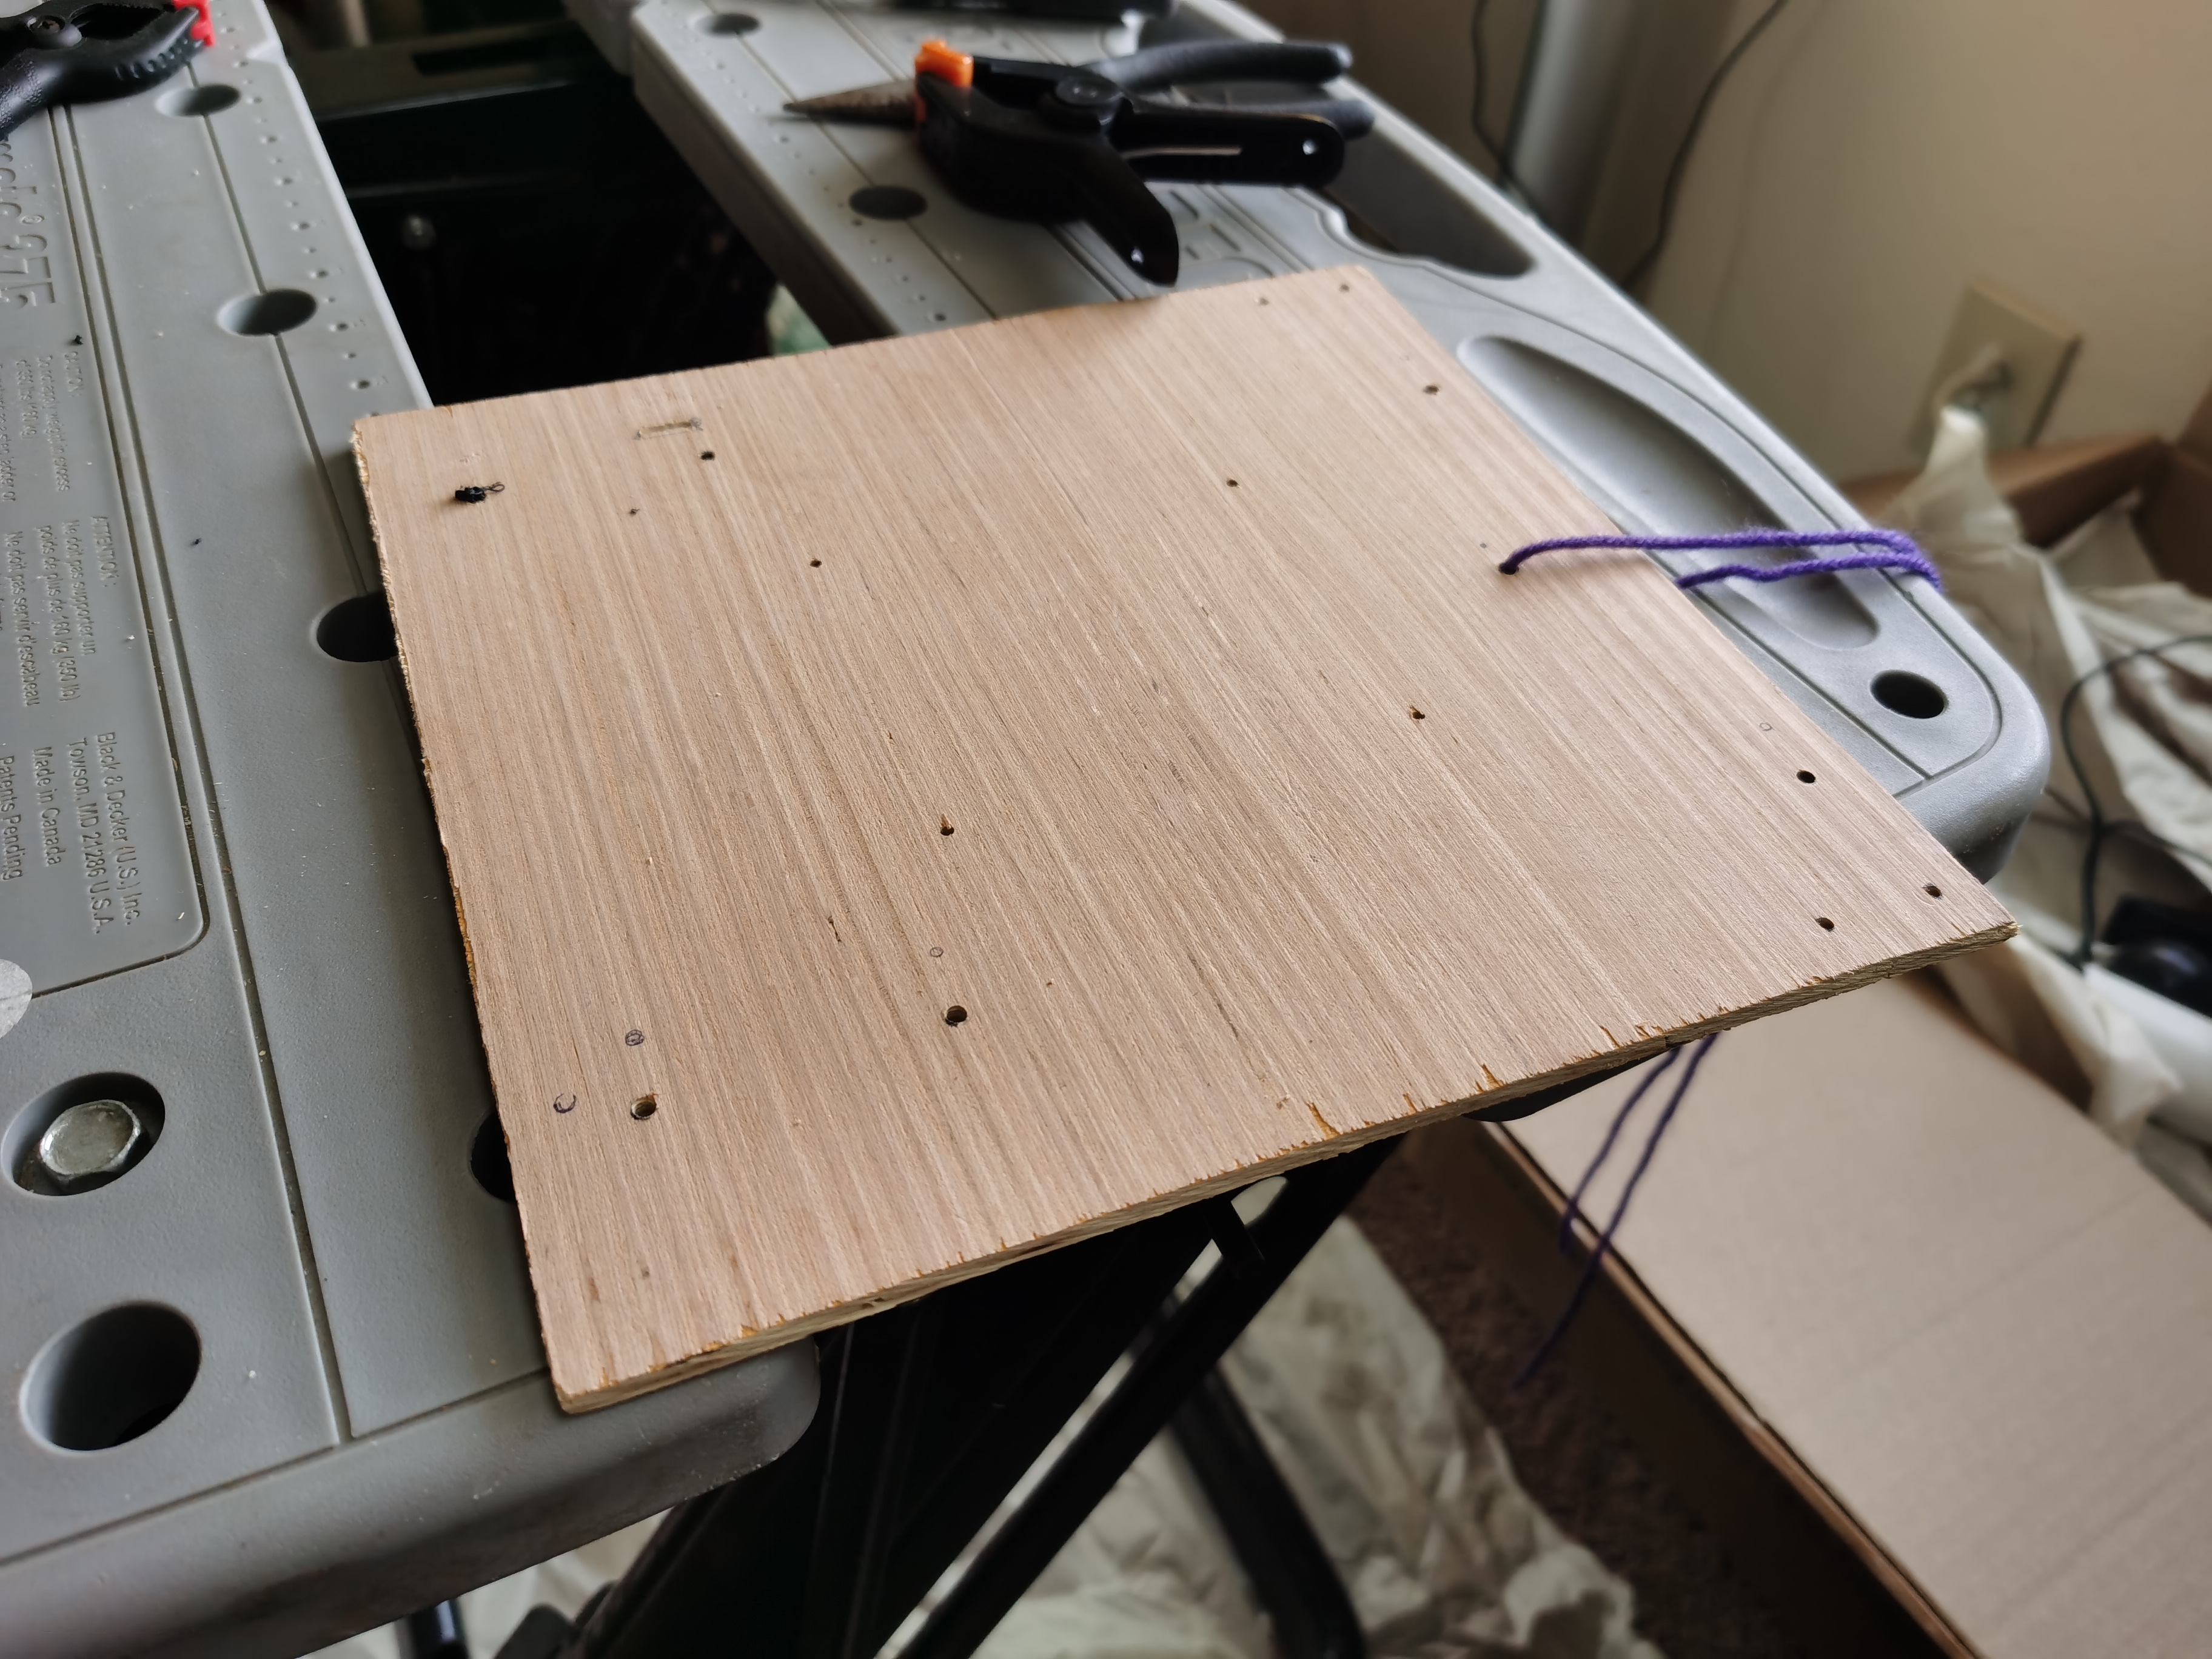
You can actually use the standard mounting screw for the motherboard.
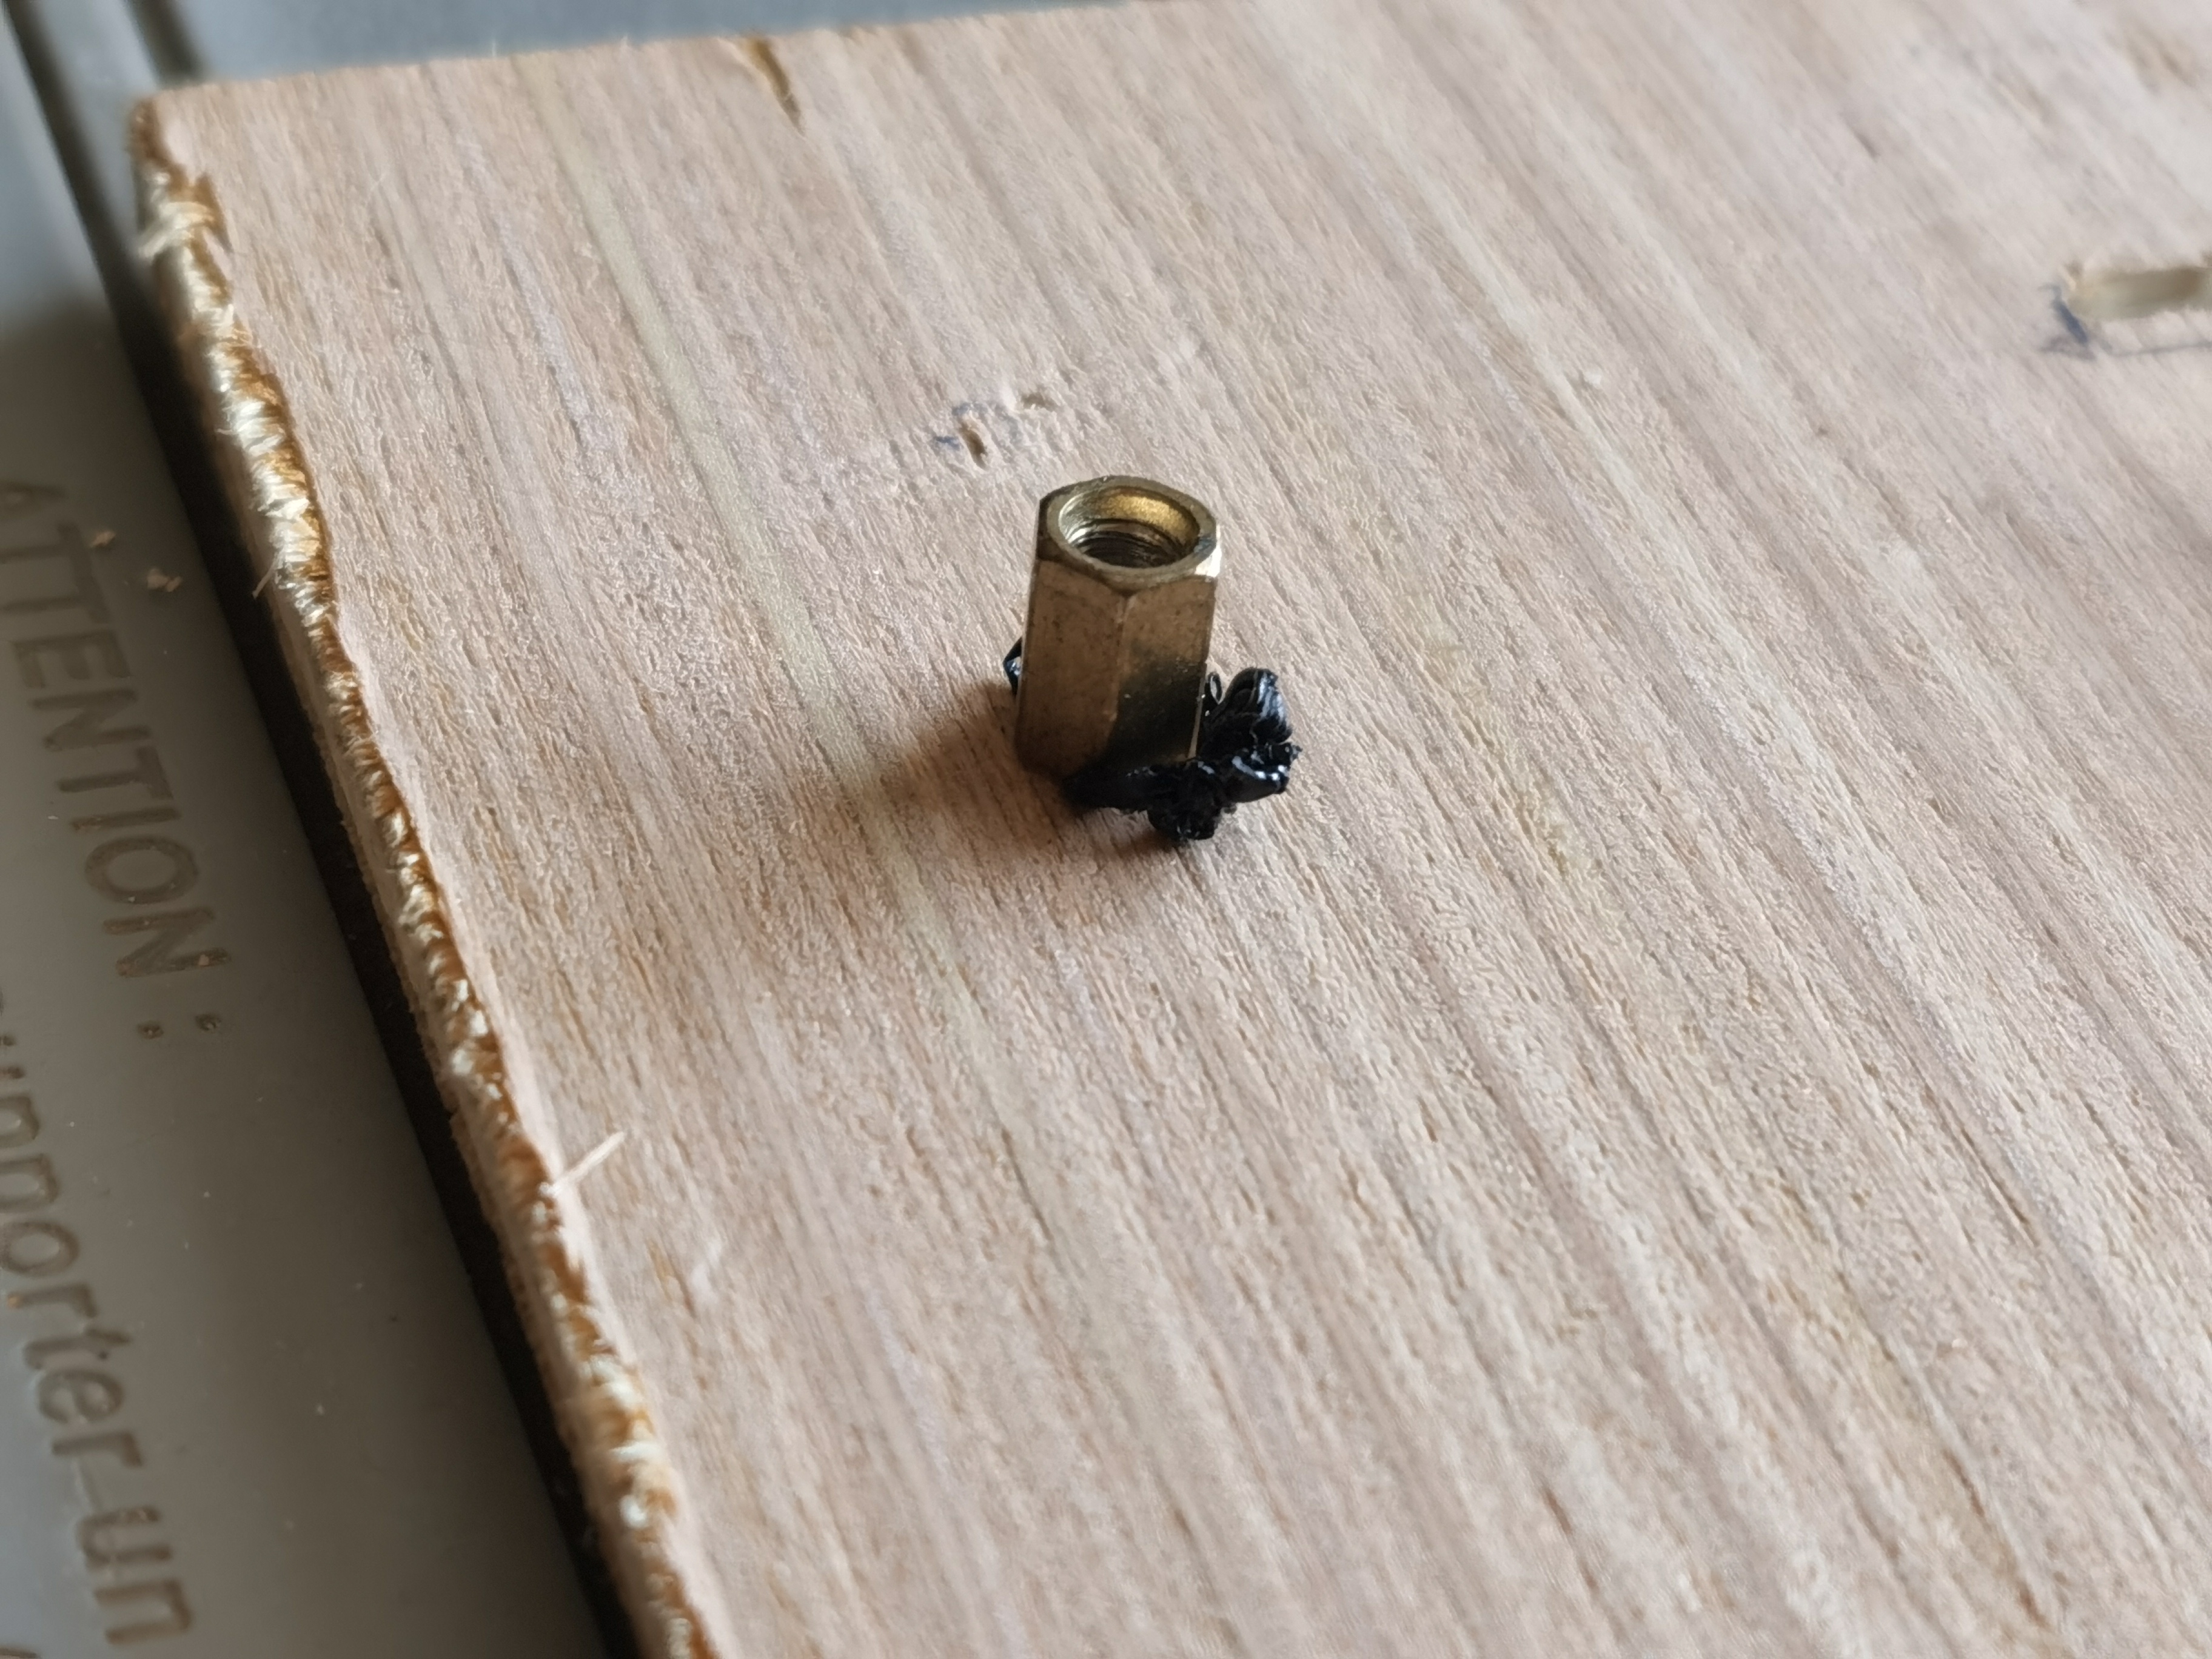
The only problem is that… these screws are not designed for woods, so crest of the thread is not large enough. I just tossed some wasted PLA there and forced the screw in.
With the printed PCI-E bracket, the wireless adapter can stand there alone without anything. I will have stable Internet!
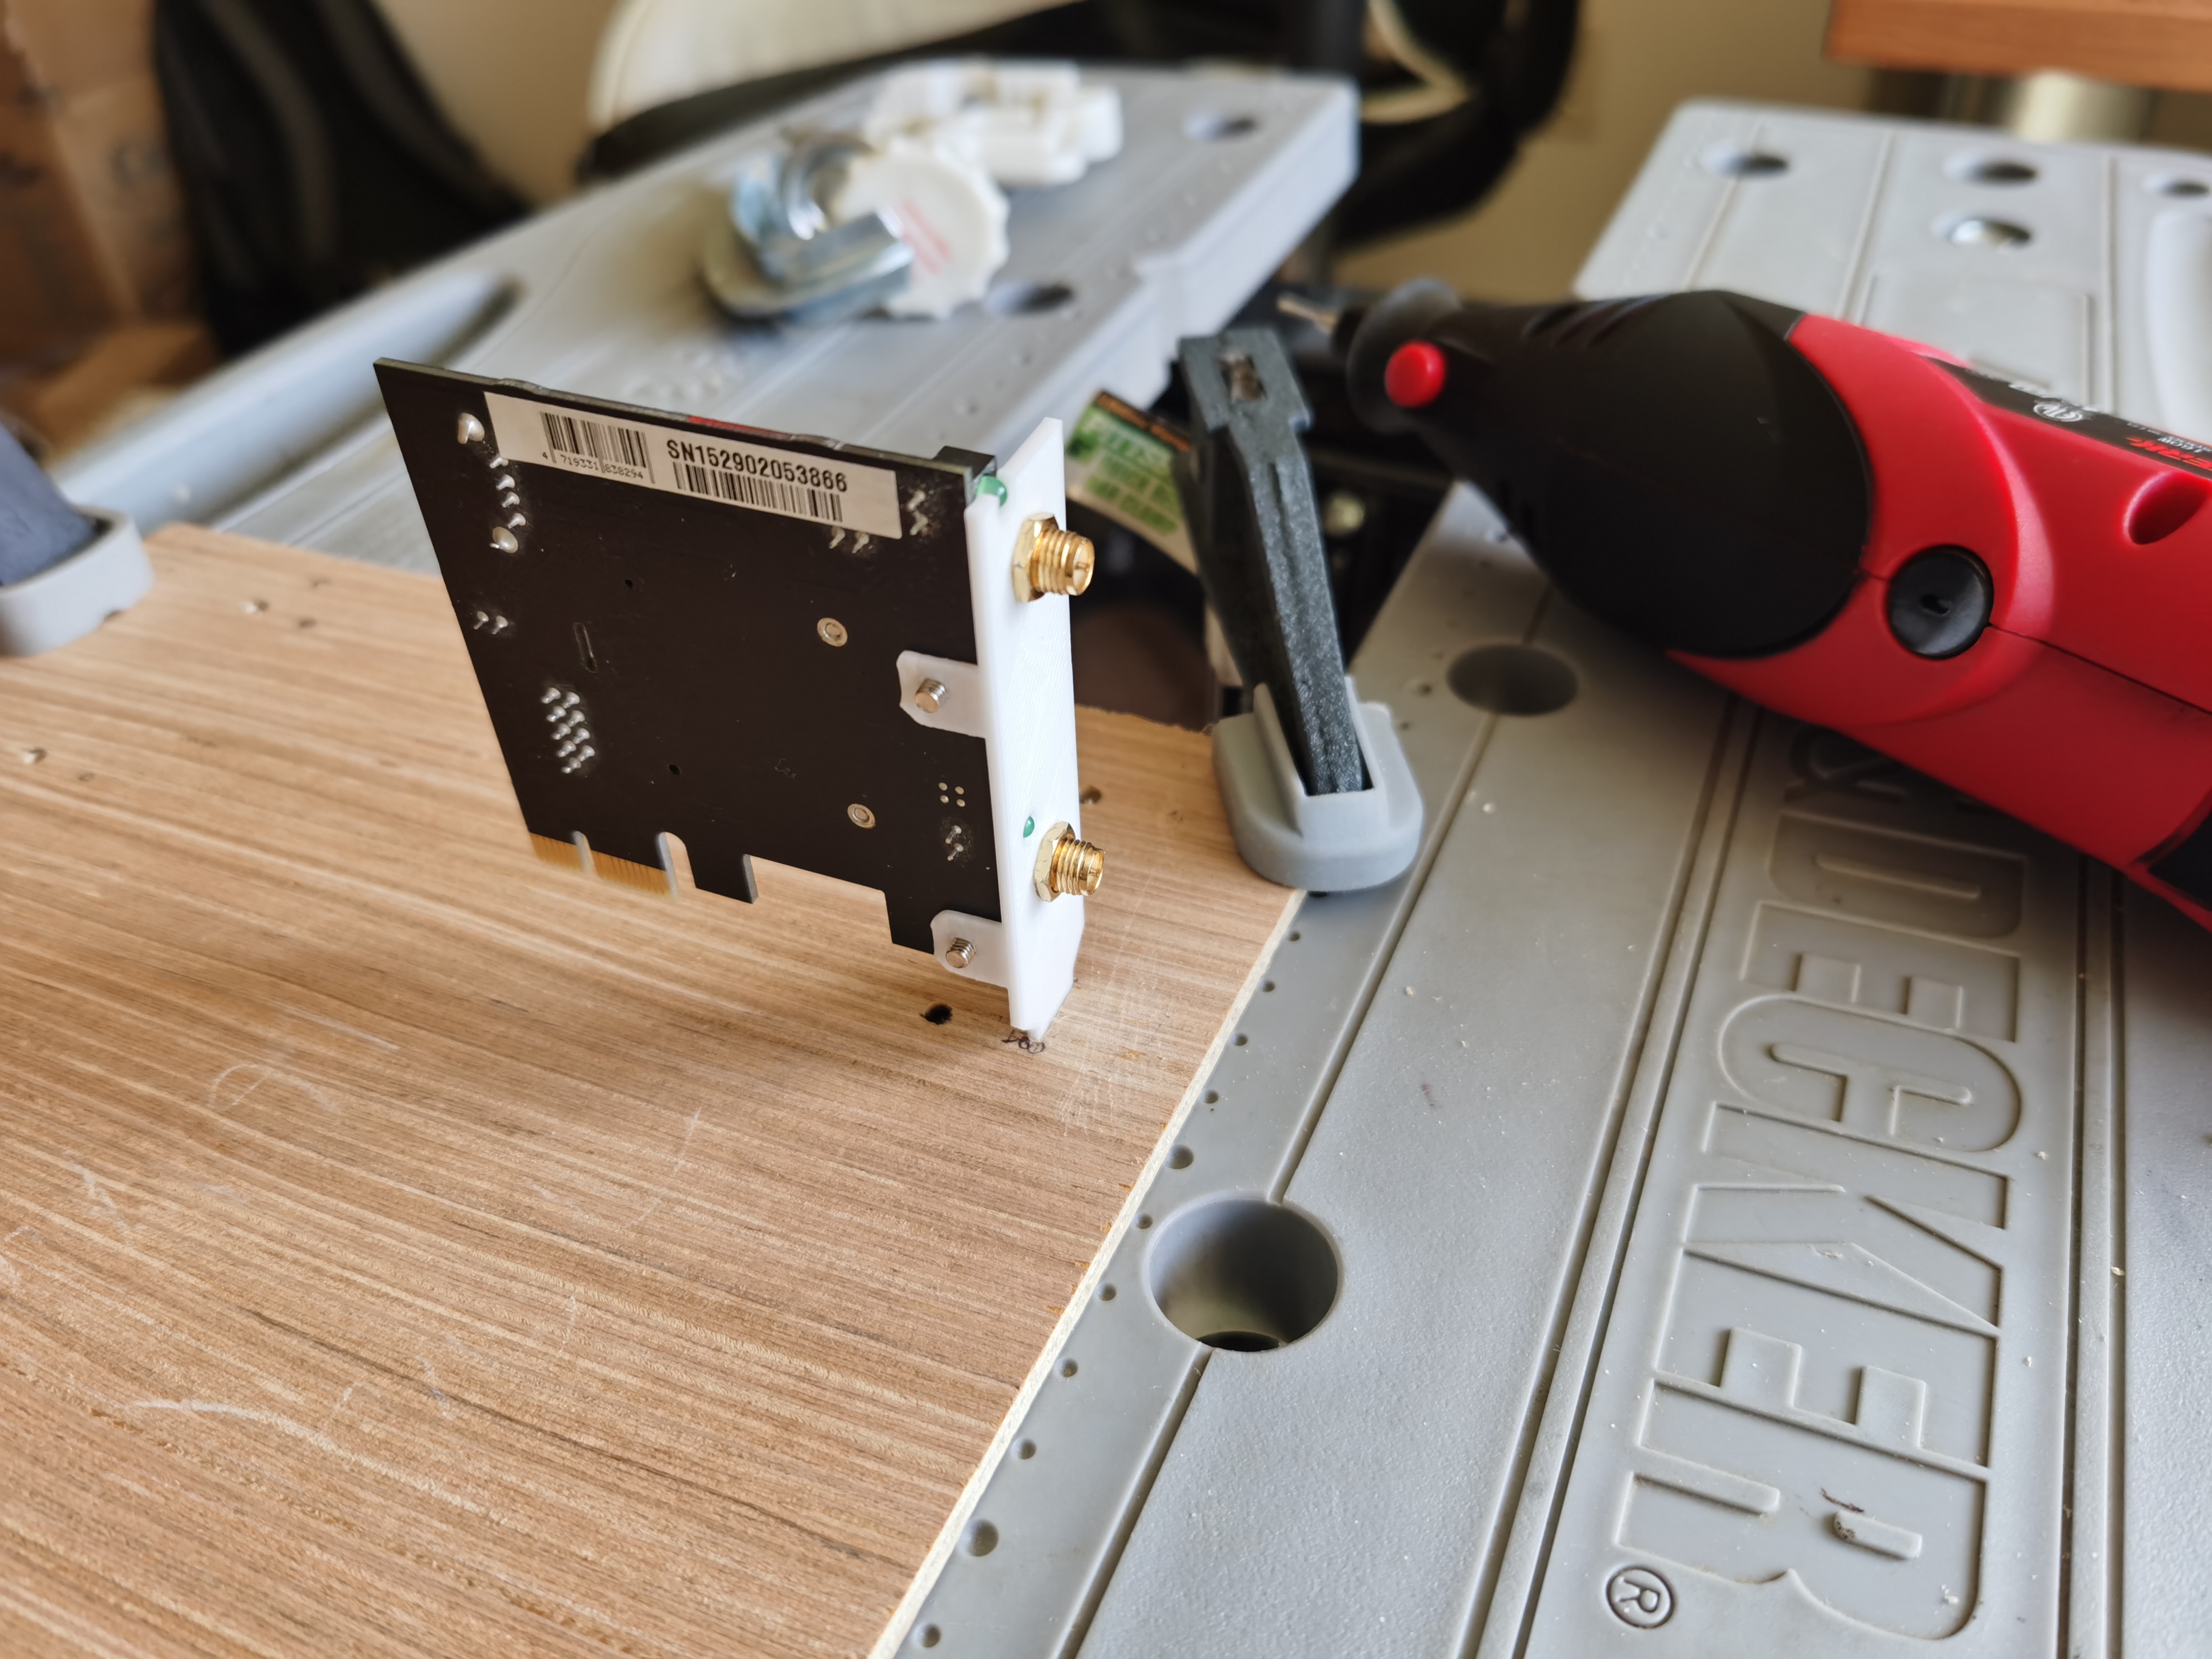
This is how it looks like when everything is in-place.
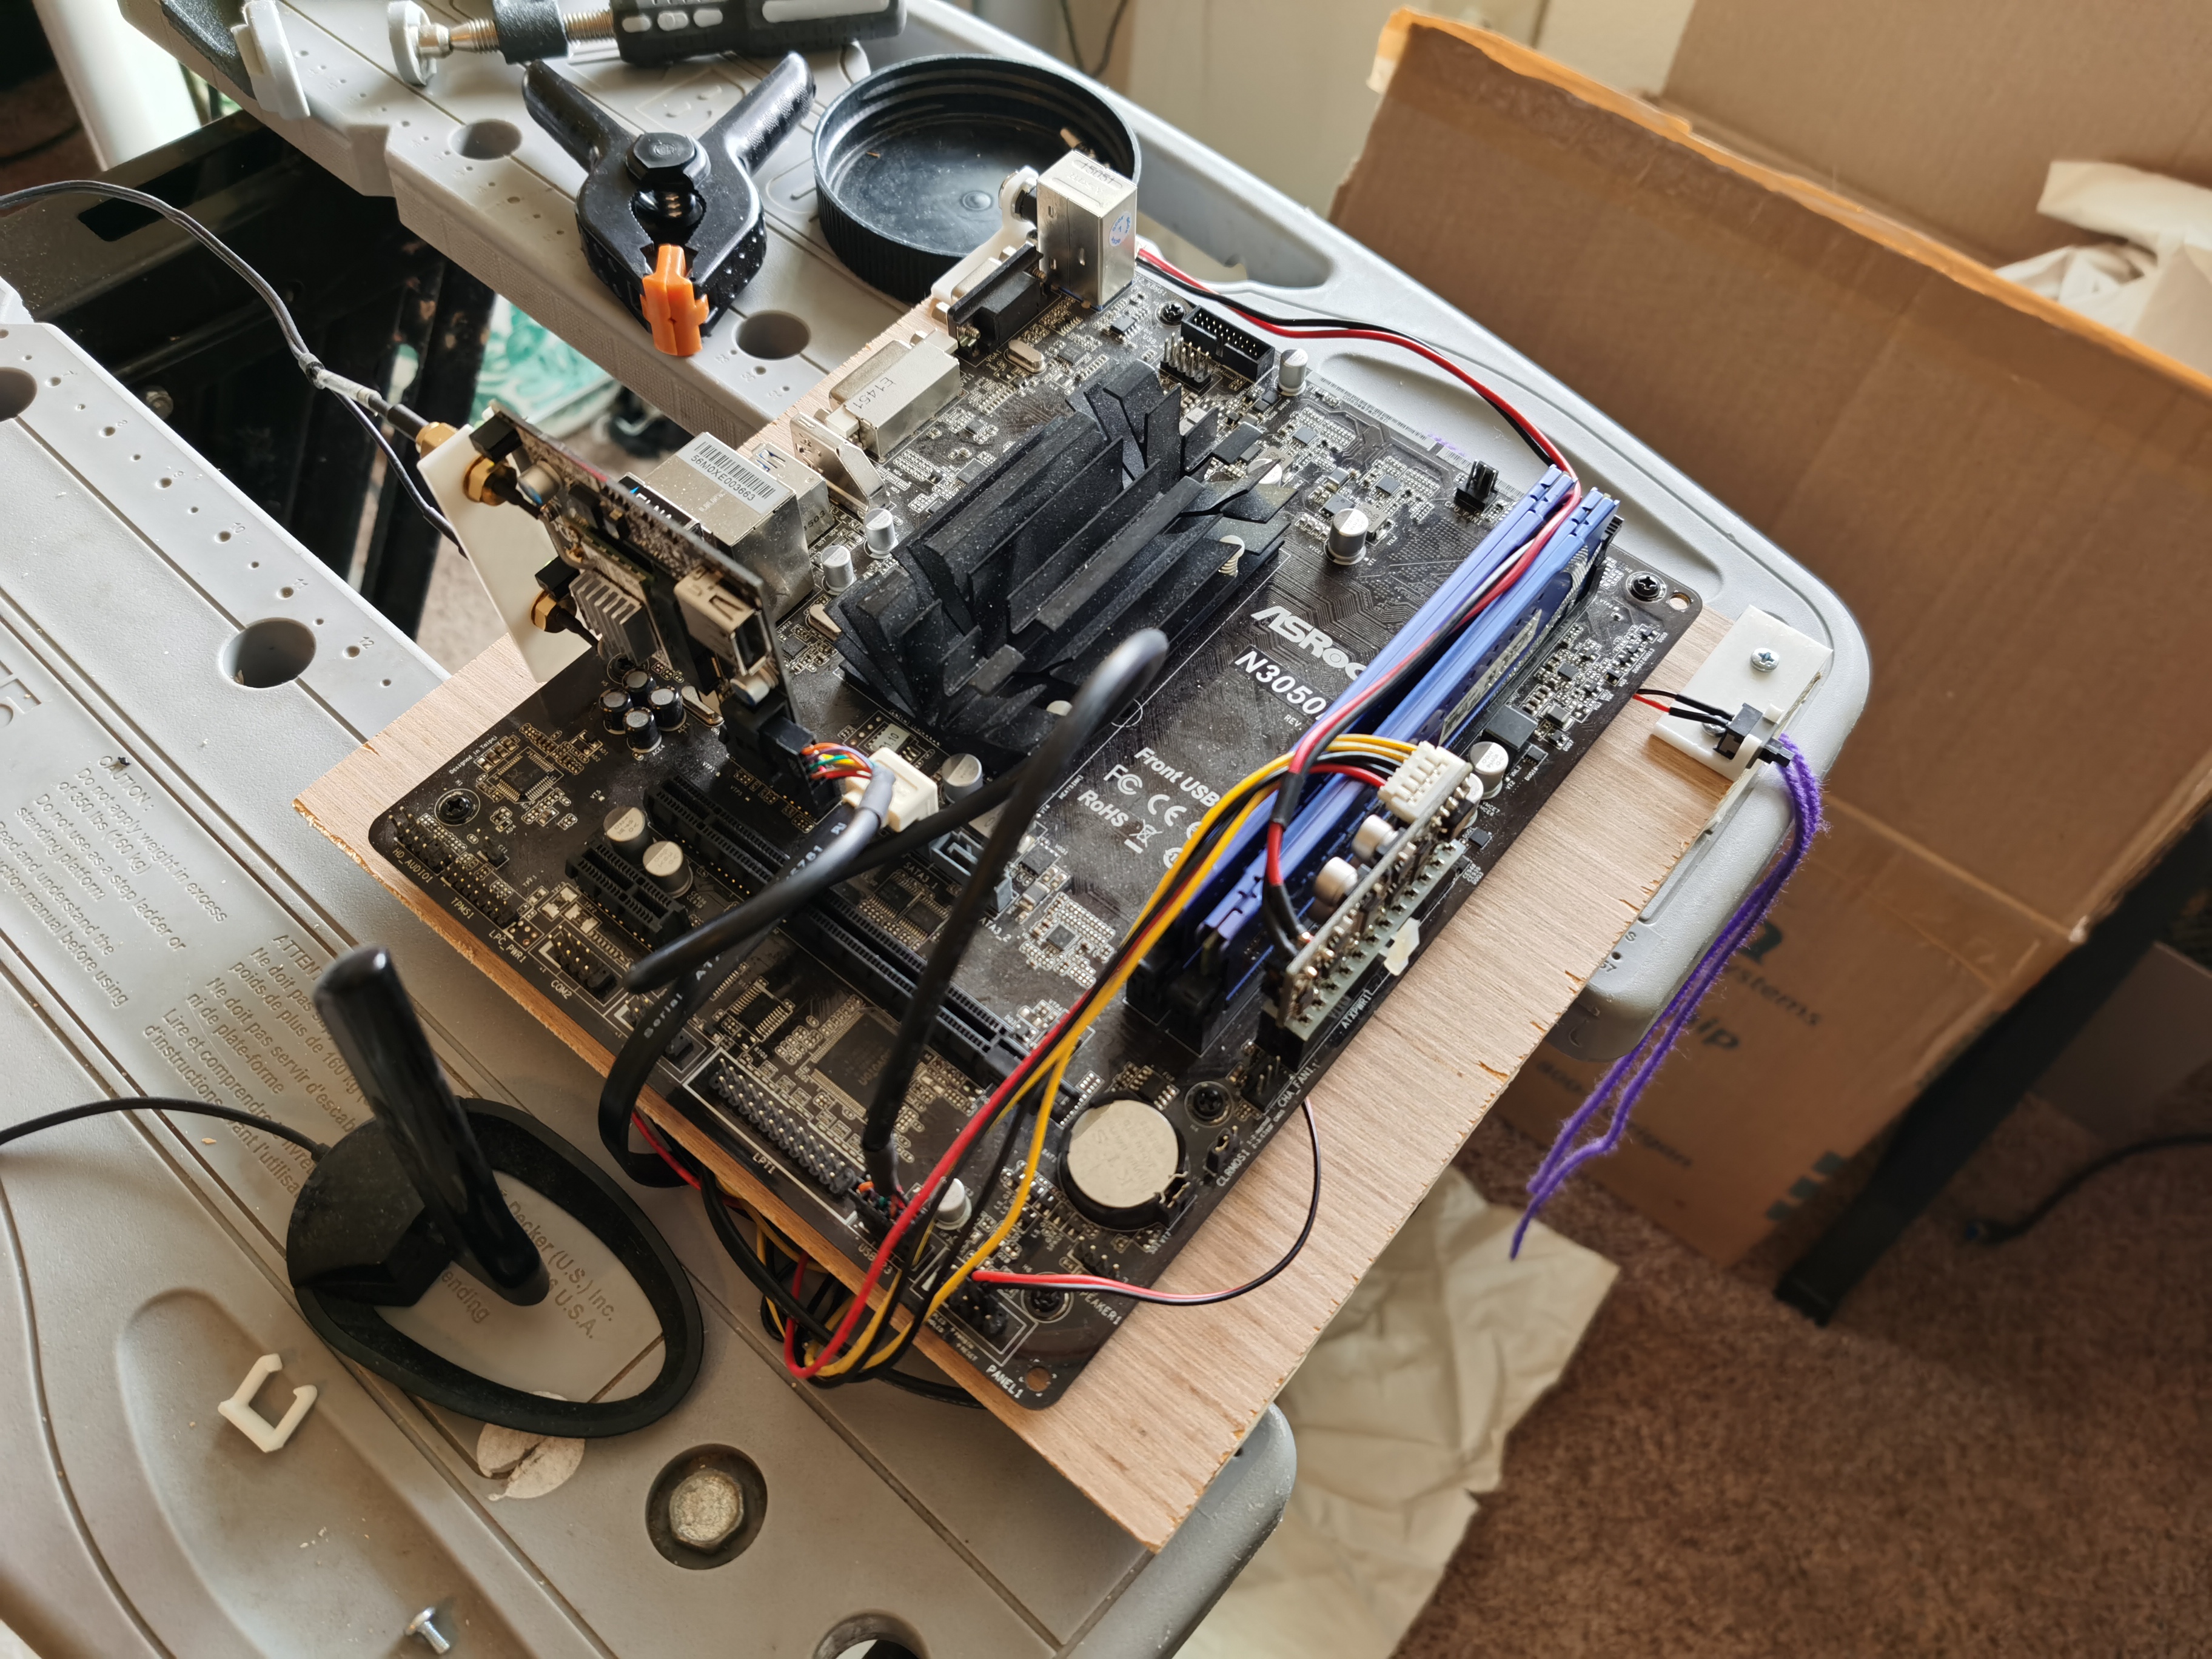
Then I can go ahead and mount it under desk. Done!
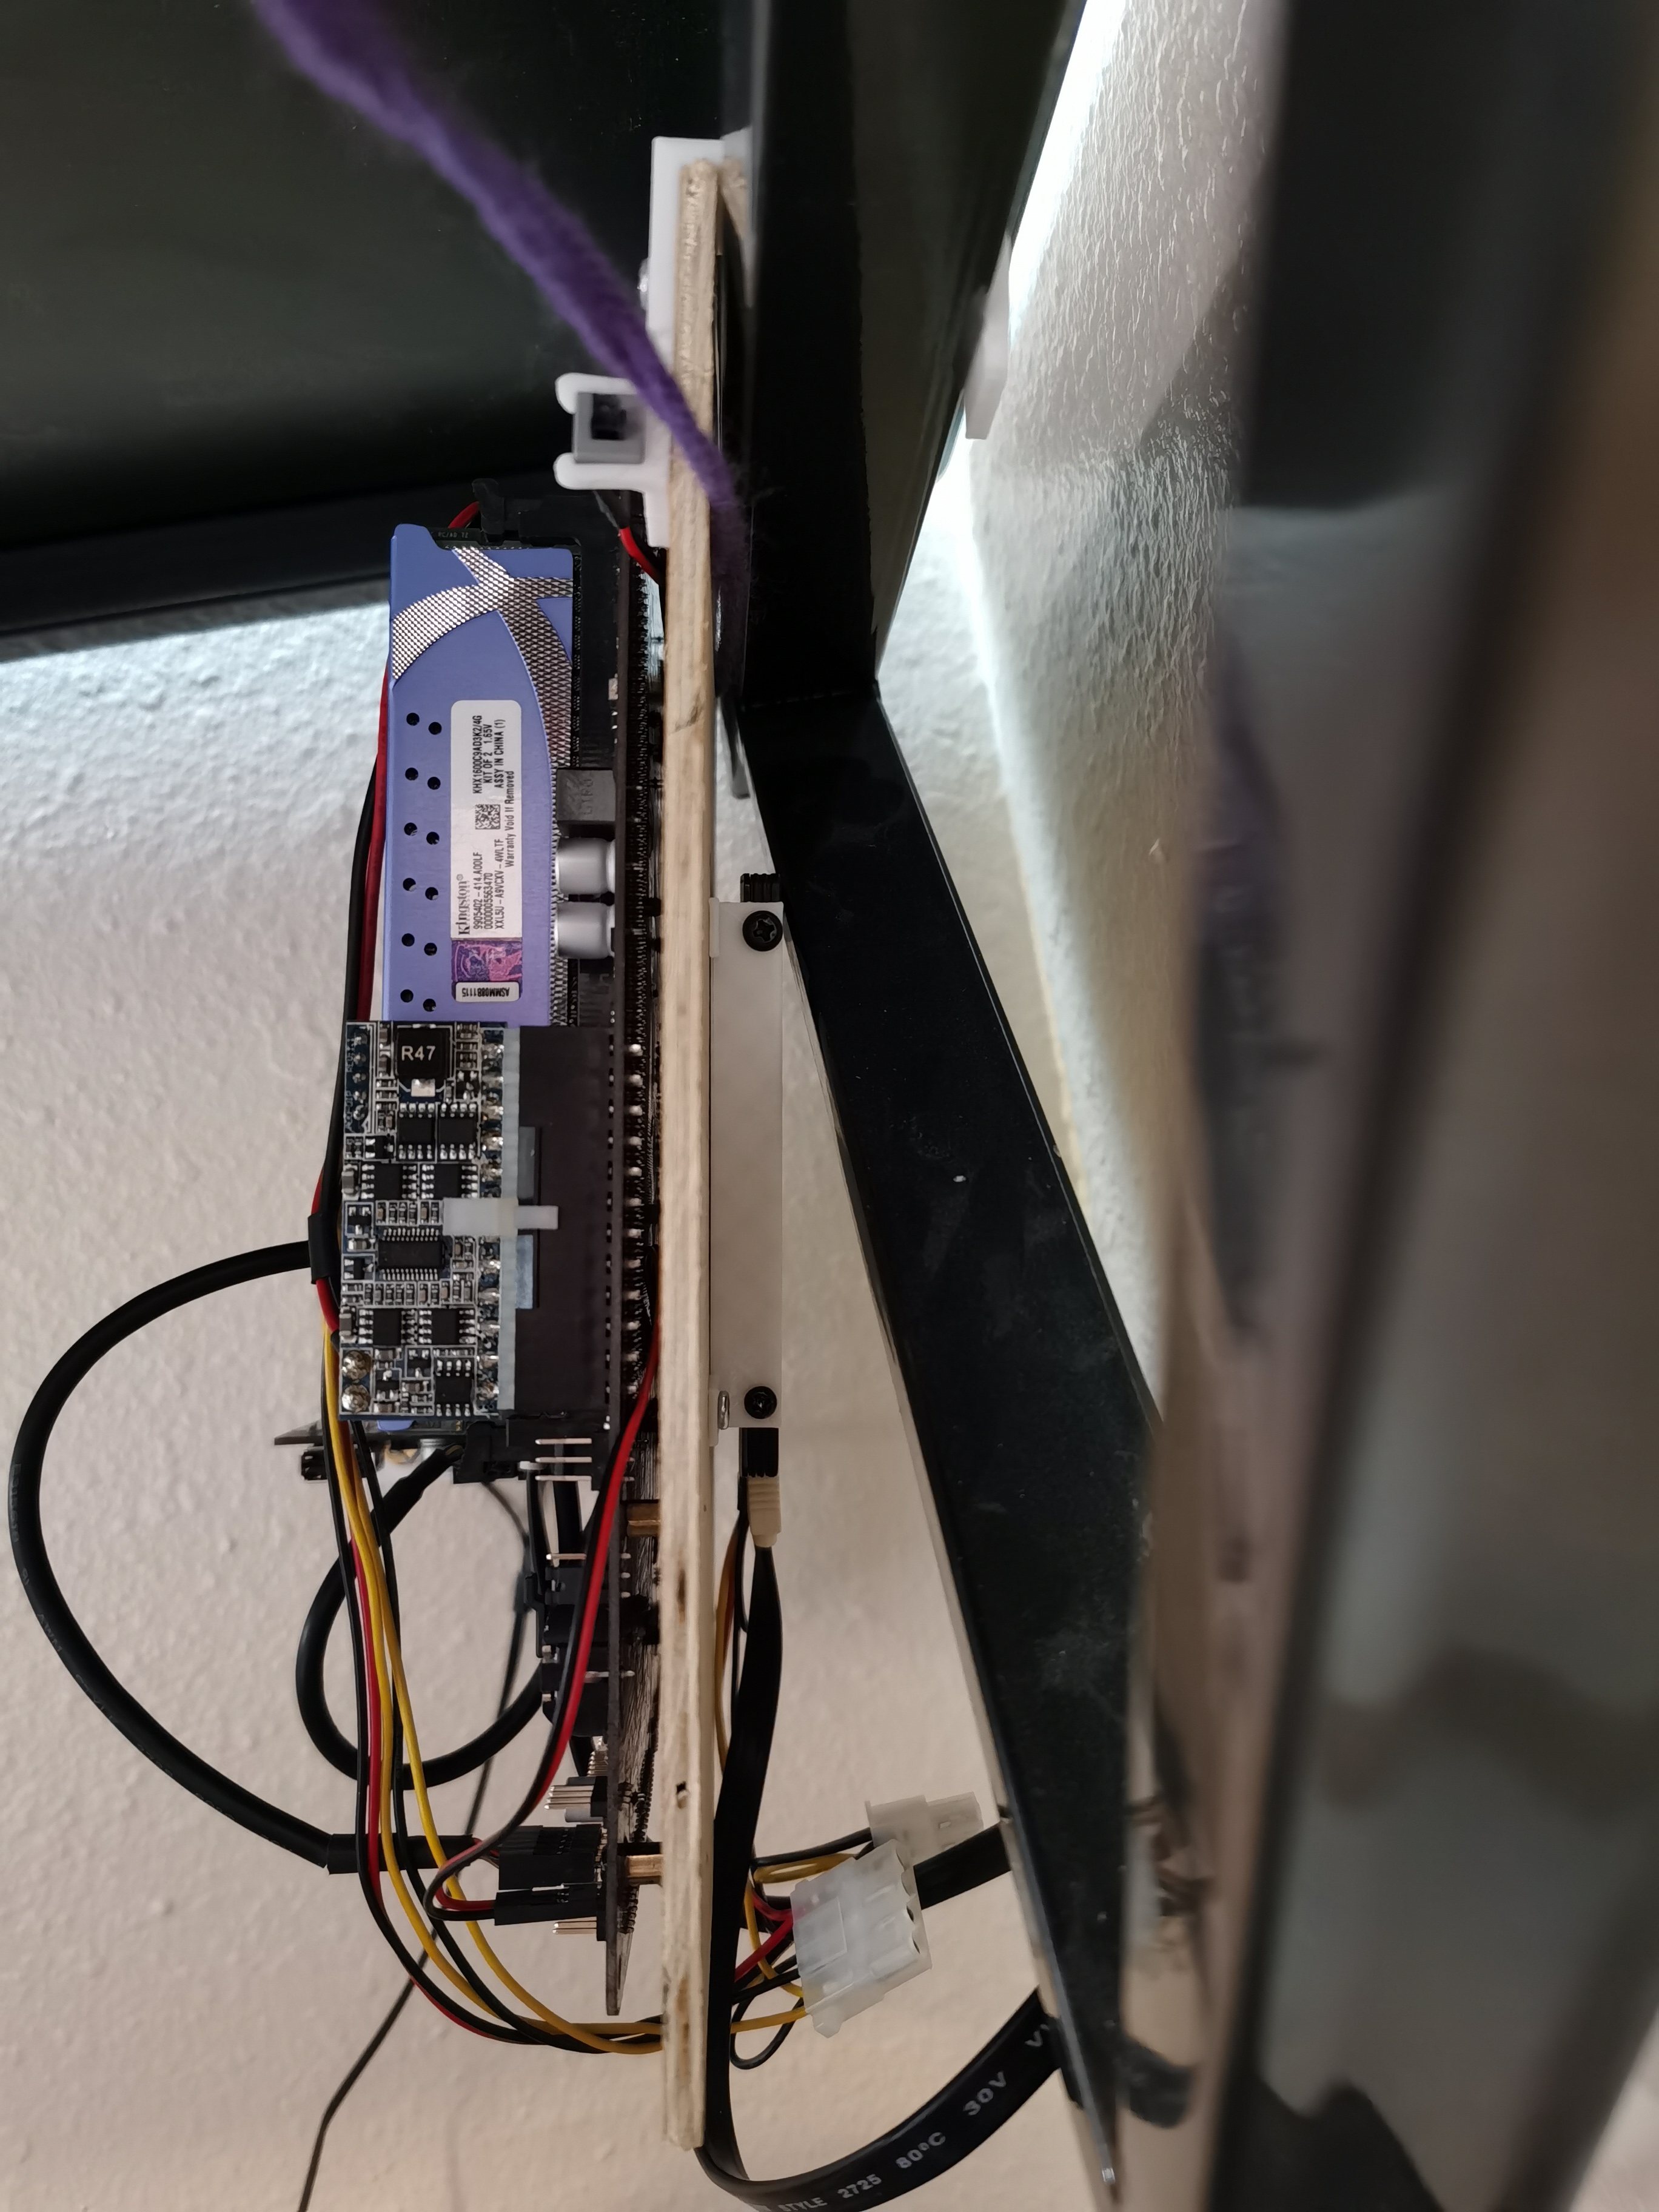
You might have noticed the purple wood attached to the plywood. It is the safety measure. Even if the brackets fail, the plywood will not drop to the ground.
Originally published on March 19, 2022.Home Lab 3D Printing OctoPrint DIY